Showing posts with label Recycled projects. Show all posts

Monday 18 April 2022

Mixed Media Art Projects - Recycled Phone Case

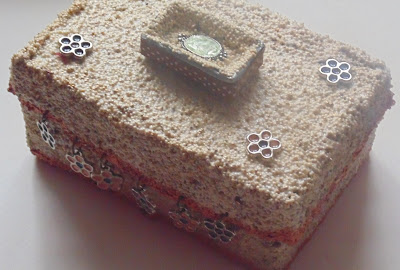
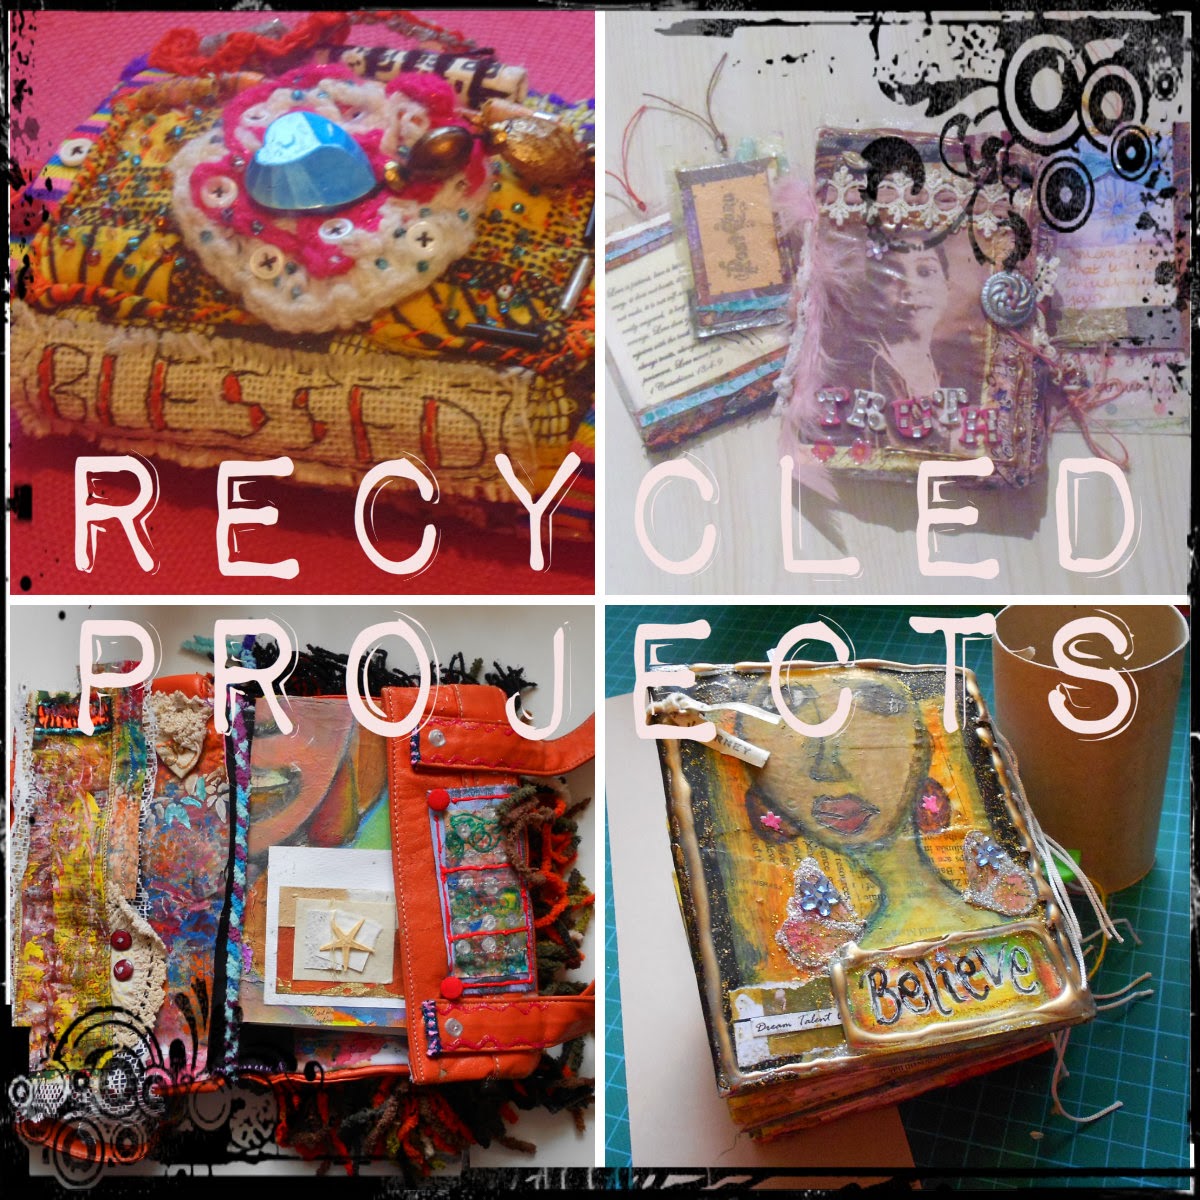
Recycled Phone Case Art Journal


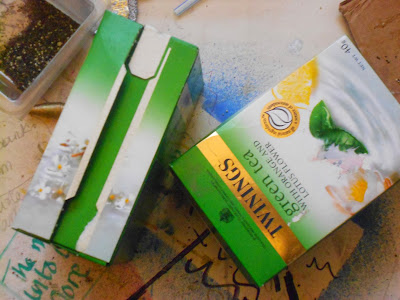
I love using recycled materials and had gone to my charity store and picked up a phone case.  It was slightly too big for my phone so I thought I would make use of it and create a mini art journal.

I talk about the journal in the video below, and I have included some close up images of the pages as well.


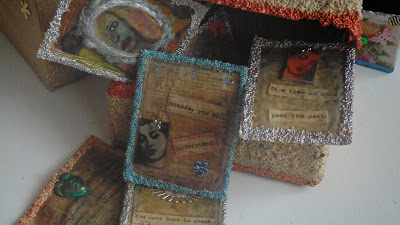
On the front of the art journal I used some of my favorite handmade paper infused with gold, looks lovely doesn't it, one of my favorite colors which I use a lot when painting too.  


One of the motivations for the journal was to use the elements that I had been holding on to for what we call 'best' or 'one day' but that day never comes.  It is important to use your supplies rather than holding onto them for that one special day.  Allow yourself to be included in the special day and use it on yourself.


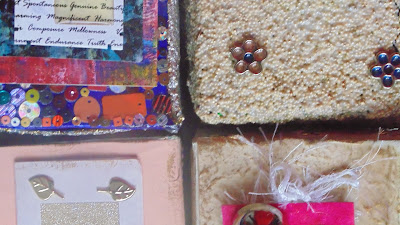
The journal is made up of handmade paper and I have included making use of space where I can add additional elements If I were travelling with the journal - a water brush and some water colors always travel well and have minimum cleanup.


I added sentiments that are reminders 'You are beautiful - Shine your Light' reminds us that we all have something to offer and that we need to not only shine our light for ourselves, but for others who you are impacting and helping them to be brave or step out and shine their own light.


How many times have you been self conscious about what you are doing, not because you can't do it, but you are listening to the negative talk of others.  Sometimes it is that throw away statement that can do the most damage - but you have to 'Dance like no one is watching' again, your being who you want to be will encourage others to keep going.


Each page has either an encouraging word or scripture, and also space for adding doodles or mark making.


Every page is a constant reminder to dream big, follow your heart and do the things that bring you closer to your goals.


Some of the sentiments I use especially when working on a challenge and I am working on two at the same time, the 100 Days of Handmade Foam and the Ultimate Blog challenge.  There are some days that I have not felt like posting, and sometimes you don't, and you find a way of dealing with it and then getting back on course.  I take the necessary breaks that I need, all the time reminding myself of my overall goal.


Explore, Imagine, Dream is the title of this page.  I recommitted myself to share as part of the blog challenge, to not only encourage myself but others as well - I am sharing what I love, creativity and the process.


This pages sentiments - You are unique, a miracle, don't ever compare yourself with anyone else.  Take a look back, you have come a long way, this is not your destination.

I hope you find the things that motivate and encourage you and that you take one step in front of the other to reach the goals you desire.

Blessings!


********************************************


100 Days of Handmade Foam Stamps


If you would like to see the stamps daily you can check out my Instagram HERE


********************************************

I am also taking part in the Ultimate Blog Challenge and you can check out the posts HERE


********************************************

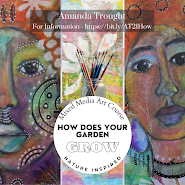
Mixed Media Art Courses to Check out


SALE - Enjoy $10 OFF all courses until 30th April Click on the image to see the course.

Use the Code at the checkout - create2


Wednesday 1 February 2017

Toilet Roll Journal 2 - 31 Creative things to do with Recycled materials


So you got some more toilet rolls hanging around, lets see what else you can do with them.....simple...create another journal, a bigger one this time!

Toilet Roll Journal 2


Recycled Journal

In 31 Creative things to do with Recycled materials I have been showing you different things that I have made that you can try for yourself or a project with children, as a gift, that can impact where you live, your environment and more - you know it!

This journal came about in a very similar way to the Journal I showed you yesterday and you can see just how I put it together HERE.

On the front of the journal you can see that I used Quinoa to decorate the front, again using something that you may have in your home supplies that you might ordinarily throw away. Think about the different things that you have that can create texture or add something different to your project.

Front Detail - Toilet roll journal


back detail - Toilet Roll Journal


These pages were constructed differently to yesterdays one and I made it slightly bigger, and enabling me to increase the size of the tags that I made.  If you want to see how this one was made you can check out the post HERE

I think that these journals are so cute, remember if you are using foodstuffs to varnish it and seal it in well.  If you can come up with alternative uses why not leave a comment, let me know how you get on.


I will doing an ‘All About Journals’ Challenge on my YouTube channel where I show you how you can make your own journals from recycled materials such as catalogs - you can see what I did with a John Lewis Catalog, old books, and more – whether you are re-purposing, reusing or altering, you can make something that is unique to you. Sign up to my mailing list HERE and you will be notified when the videos go live.


Monday 30 January 2017

Art Journal - 31 Things to Create with Recycled Materials -


John Lewis Journal

I picked up a while ago a John Lewis catalog after a visit to the store with my sister. I had also joined their loyalty program and received my complimentary tea and cake voucher, which they send out I think 4 times a year – which was yummy by the way (everything in moderation)!

Recycling can come in all shapes and forms and as you would have seen over the last few weeks if you can think of a creative problem or something you need to make you can probably use a majority of the things you have around you.

After looking through the catalog it sat around my house for over a week. I thought of some of the things that I could do with it and making a journal was what I really wanted to do, but I wanted the kind that you could use the background images as a place to start, and you could also completely go over the page with gesso and create your own image. 

John Lewis Journal - Recycled creatively

What I liked about the pages was the feel and the thickness, it holds gesso well, and it had some interesting images, and this allowed you to add to the image using art supplies. 

Page to add gesso to
So where you say have an image of a bed,

Were you allowed to jump on your parents bed?
I added to it and drew in children jumping on the bed, something we were never allowed to do as kids.  With each stage a part of the process you can enjoy the separate parts or the whole.  An enjoyable exercise was to block out some of the picture for the next stage, adding gesso and a bit of colour and then adding a figure

Here are some other ways in which I altered the pages, I enjoyed placing the characters within the picture and thinking about what their story was.

Some stories tell of hope and looking to the future.....


thinking about the past, and being present.......


So now I have a set of great pages at different stages that I can use when I have time to spend finishing off a piece

Why don't you check out your local store and their catalogs, you might find one that you will be able to use as your own journal. Here is my original post that will give you a closer look at some of the pages.

Sunday 29 January 2017

31 Creative Things to do with Recycled Materials - Tea Bags

Teabag Treasures 


Tea as you know like many people is something I usually drink every day, and I have my favorites that I like. Every now and then we buy a different variety tea, and for some reason or another no one in the house wants to drink it and it passes the sell by date.  Now I am sure you can guess what is coming next…there are so many things that you can do with an empty unused tea bag!  They are really versatile, and I will show you one of the ways in which you can put them to good use.

The tea bags by the way can go in the garden and depending on the bag decompose quite well (great for roses I hear). But you want to make something creative with them don’t you?

Tea Bag Treasures


Check out my post HERE for some step by step instructions. With the bags I have I enclosed them with words of encouragement, added texture and paint. On these ones I added the quinoa – I had so much (again out of date) to get rid of! 


They were then painted and an embellishment made from either fimo clay, or shrink plastic and then it was added to the bag.  Again, with those little bits of broken jewelry you may have laying around you can bring new life into them and add some sparkle. There are countless possibilities using the altered teabags in different projects, check out my Pinterest board to see some of the ways that I found that other artists are using. 


Can you see a creative possibility in more things now? 
There are so many things you have around you are screaming to be altered, reused and re-purposed, and I often tell Alan and Sekani that if they stand still for too long around me I will be seeing if I can find a creative use for them as well (smile).  There are a wealth of possibilities when we experiment with recycled materials, come back tomorrow to see what else I have got up to with my supplies.

Why not join me on some of my other platforms, and sign up to my Mailing list you will be getting information about what I am up to in my creative journey, tutorials, Arts and health advice and resources, giveaways and more


Stay blessed and be a blessing

Amanda

Saturday 21 January 2017

31 Creative Things to do with Recycled Material - Tea Boxes


Tea Boxes Decorated


What are you going to do with your empty tea boxes that you have, throw them away, recycle, put them in the compost or do you make something from them? Yesterday I showed you a way to alter them and make something crafty, here are a few other ways.

Always one for experimenting I wanted to see how many different ways the tea boxes could be decorated based on some of the supplies that I have. Whatever you have in your craft supplies there are some amazing techniques to try.


Here are 4 ways that I decorated mine so far, this is a great way to use up some of those smaller pieces of your supplies – paper, embellishments that may be too small for one of your larger projects but may be just right for this one. (No it isn’t an excuse to start to hoard, though it can sometimes feel as if you are surrounded by a mound of ‘use it for later’ supplies).

I will be doing a series around the tea and tea boxes, so watch this space, and even follow along. I might even do a monthly tea box challenge with some giveaways each month!

So for the boxes I covered this one with handmade paper, brads and topper that was a free decoupage topper form a magazine. (You can make your own decorative paper with painted recycled paper. I then tool string and beads to decorate the front, and stamped the inside with a homemade stamp.

Quinoa Box

When I had loads of outdated quinoa, I wanted to use it to make a creative covering for the box and applying glue sprinkled it all over and let it dry. I then finished off with broken jewellery, ribbon and another homemade mini box.

Friend Box


Covered with stamped masking tape and glitter paper, with a tag on the top with the stamped message of friendship. I also used a clay embellishment on the top.

Sequin Box

This has handmade paper, paint, sequins and an encouraging word tag on the top. If you keep the embellishments simple your box will last longer and be more sturdy. It is great fun having these decorative containers and it would be great to do a series.

You can see how I went about altering the boxes HERE

Perhaps you will join me with the monthly makes and you can sign up HERE if you want to know when a new one is coming.

Friday 20 January 2017

31 Creative Things to do with Recycled Materials - Spiced Tea Box

Spice Tea Box Container

Great ways to alter your teabox!

I did a post about this container showing you how to alter it as it utilizes a product that I use quite a lot and that is tea. 

Recycling at its best!
I have a least two cups of Spiced tea a day, the morning ‘wake me up’ to get myself in the work frame of mind and the 'afternoon reflection', the tea has such a delicious taste, I will be sharing at some point about some of the other tea in the Palanquin range.

Over a period of time I got through so many boxes that I thought it was time to create something out of one of them.


I kept the structure of the box with all its parts as I didn’t need it to close but to house supplies that were quite tall, such as paint brushes and things that I use on a regular basis. 

I used brown paper on the box to get the texture and then added gesso it.  You can see instructions HERE


Sitting on the desk I also wanted a reminder of why I was there, and that is to create, and added encouragement with a ‘teabag treasure’ - what do you do with those teabags that are out of date? (you’ll find out about these soon).  

Choosing the lettering
There are lots of great ways you can use these boxes and I will be sharing some more ideas.  

Tea Box Treasures - Amanda Trought - Realityarts

Again, a great way to use recycled materials, for your own space and they can make lovely gifts and you can add your own style.  Join me tomorrow for another creative recycling idea.

For more inspired recycling ideas and useful tips check out Zero Waste Barbados and Journey to Zero Waste

Have a look at some of my ideas on my Pinterest Recyled Board


Stay blessed and be a blessing!

Thursday 19 January 2017

31 Creative Things to do with Recycled Materials - Alcohol Marker Holders

Welcome to today's post showing you 31 Creative things to do with Recycled materials.  Even after the challenge has finished I will continue posting until you have seen all 31 examples, as I had things that got in the way, but we move forward!  

When I make something out of recycled materials I get a real kick, knowing that I have created something that I want, worked out how it needs to be put together, and so been resourceful, and also that I have created something that has another use from its' original intended form.


After I had made the first free-standing pen holder, there was nothing stopping me from making another one. I allowed some of my supplies to dictate slightly how it would look. I really loved the way it turned out and it means that my pens do not have to be stuck in a draw taking up valuable space for something else.


This storage container was made from almond milk and juice cartons, along side cardboard. I worked out the height and width that I wanted and the amount of storage I would need.

The cartons are made from a durable waterproof material, and they don’t readily get recycled here, so I knew I needed to find a way to use them rather than throw them away in the bin, (honestly I am not a hoarder). I think there has to be more government initiatives and more of us have to think about just exactly we are throwing away and use less packaging where possible. What if your rubbish was put in a hole in your back yard, you’d soon run out of space and who would want to live with that, you would soon find a use for more things that you ordinarily throw away. 


Once I had all the dimensions that I needed I put it all together, using one of my favorite tools - my glue gun, and the plaster fabric and painted. And there you have it.  I think it is quite cool!  I am debating whether I want to put an image on the side, perhaps someone with a story wants to come forward and grace the side of the pen holder.


For now I think that they look great in my space.  If I do decide to decorate I will share it with you.  It would be great to see what you come up with using recycled materials, tell me which one has been your favorite so far.  

For more inspired recycling ideas and useful tips check out Zero Waste Barbados and Journey to Zero Waste  
Have a look at some of my ideas on my Pinterest Recyled Board

Tomorrow I will be showing a spicy alternative!

Stay blessed and be a blessing!

Monday 2 January 2017

31 Things to Create with Recycled Materials - Ultimate Blog Challenge - Day 1 & 2

Welcome, Welcome, if I haven't yet wished you a HAPPY NEW YEAR, glad you could make it.  It is so weird that we are at the start of the year so soon.  Time seems to be moving faster the older you get, and we try and hold on for longer looking back to those times when time seemed to be limitless.


/


Any how, this month is seeing me get involve, plan, put in place lots of things that I hope will be a blessing to you.  I will be taking part in the Ultimate Blog Challenge which started yesterday on the 1st January 2017.  I am not sure quite what happened, well yes I did - Family happened and I didn't get my act together before hand and upload my post for you to get into the action yesterday with me, so you get two posts in one today! (smile)


31 Things to Create with Recycled Materials


Over the Christmas and New Year there seems to be a lot of waste generated and I have found quite a few ways to do something about it!

For the rest of the month I will be sharing 31 Things to Create with Recycled Materials, these are things that I have made and use in my studio.  I have found so many uses for the things that readily get thrown away (if you don't have the recycling facilities in your area) and I have also found great ways to create the things that help with storage that you would normally purchase and costs sometimes and arm and a leg when it comes to storage for art supplies.

I will also be sharing many of the creative tools and techniques I have been able to use, make, that serve me not only in my studio but also around the home, some of them are really cool, and I hope you like them.  Check out the videos that I will be creating alongside these posts on my YouTube Channel


By the end of the 31 days you will be looking at those things you recycle with new eyes, and you will also be thinking about the things that you can make. I will be creating some 'How to' videos and tutorials for you, so if you see something that I have shown you that you would like to make then let me know that you would like to learn that specific thing.


Why not be part of the creative solution to doing something about our environment and see what you could create with the things you have around your home - and it means that one less bag goes to landfill!

So here are the first two things that you can create:

Day 1: Supplies holder made from Toilet Rolls and paper


The sections are made from toilet rolls card board and then wrapped with rolled newspaper.  It all makes for a very sturdy storage container and can be made in a variety of designs.


A handy loop is created at the back to allow the container to be hung up or stand up.


The only other materials that were used was gesso, paint and glue.  This container was also part of my Creating on a Budget posts and I did a video for you to get a better look.  It can be further decorated with doodles, or embellishments.


Day 2: Weaved paper storage container


This was a lot of fun to create, and I would love to try bigger things to create.  I have seen some cool baskets and rugs weaved from these paper tubes.  They are very sturdy once rolled and can be shaped into a variety of things - worth a try!


This container is made entirely out of rolled paper that is glued together.  A combination of the rolled paper and the weave technique gives you a very strong storage container.


I painted it white once I had put it all together and then added some glitter paint.  It does the trick and holds some of my scissors and other tools.  

Do check out my YouTube Channel to see some of my videos created .

Come back and join me tomorrow to see what else I have been making.  Stay blessed and be a blessing.
Related Posts Plugin for WordPress, Blogger...