Showing posts with label creating on a budget. Show all posts

Monday 4 May 2020

Glue Gun Review

How many glue guns do you possess?  If you have been using them for years like I have you will know that it is easy to go through a range of glue guns until you find the one you really like and need for your uses.  In the video below I share with you some of the ones that I have used.  

I do have my eye on another one I saw in the hardware store but I will have to save up and take another look just to make sure I wasn't enamored by the 'new store syndrome'

Check out the review below.


While you are there you can also check out some cool ways to create your own stencils using a glue gun.  
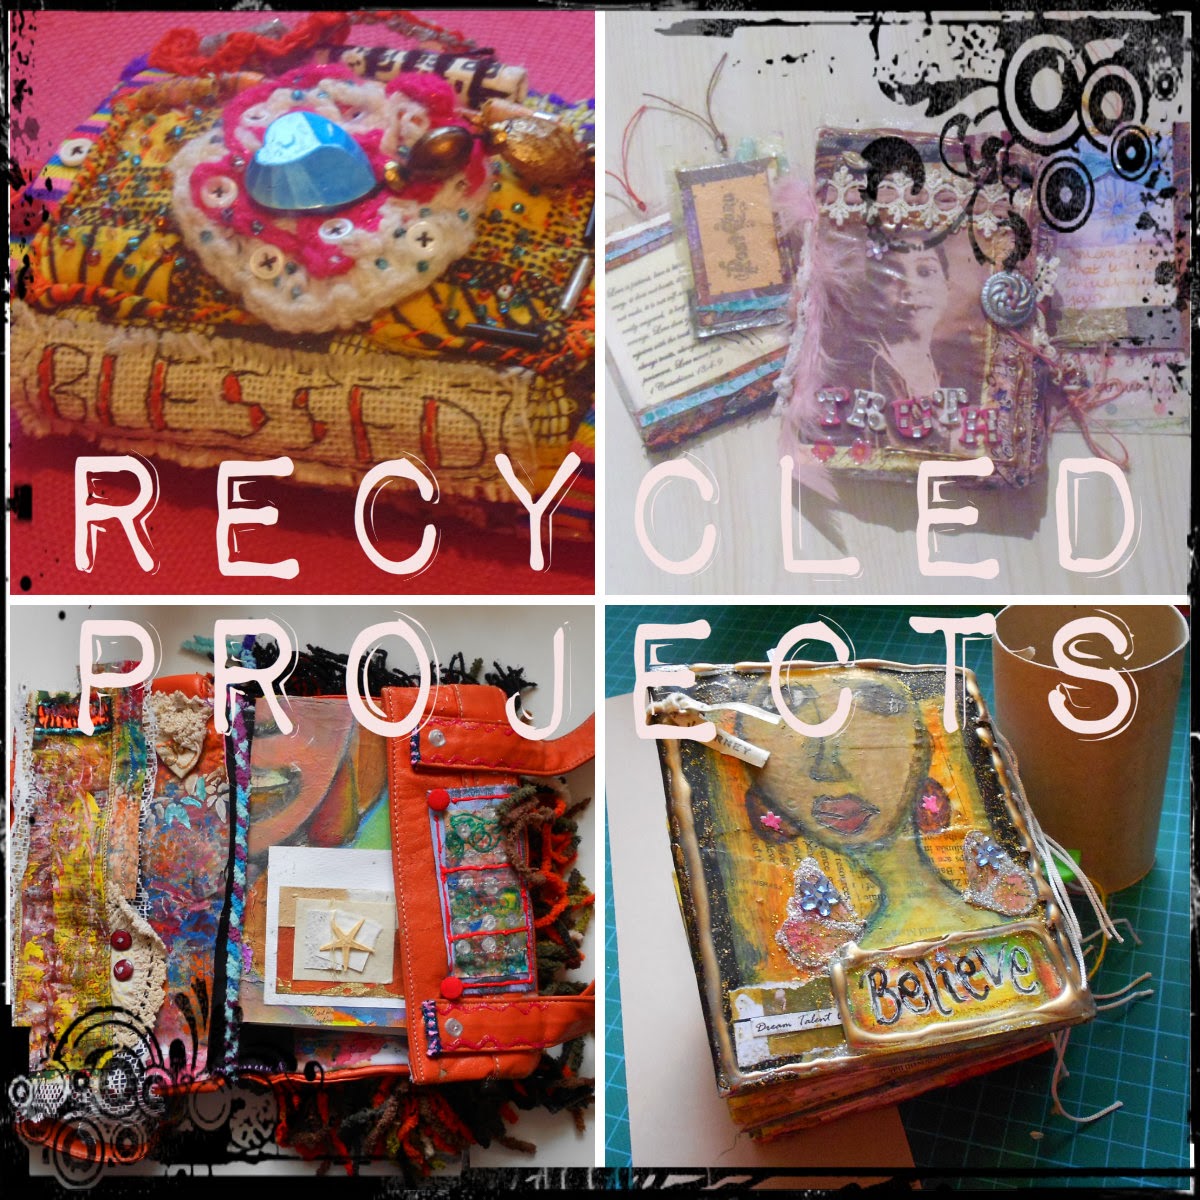
Glue Gun Stencils


You can make the glue guns to the size that you choose and custom them for a particular project that you may have.

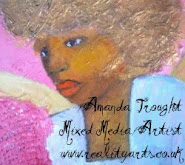
Glue gun stencils - Amanda Trought

You can use them with spray paints that you may have, brushes and sponges will also work.  Let me know what your favorite stencil that you have made is.  

I have also used the glue gun to create outlines for art journals and paintings.


They are in the long run economical to use because you are create the stencil to suit your needs, and can be used in a variety of other projects.  They are also unique to you which is great especially if you are planning on selling your work further on down the line.


I would love to see what kind of designs you can come up with for your glue gun stencils.

Stay blessed and be a blessing!

Art Supplies

Free shipping on orders of $35 or more.  Exclusions apply.


Darice Glue Gun Mini Hot Temp
from: CreateForLess


Glue Guns on Amazon


Tuesday 2 January 2018

My 31 Art Studio Essentials - Brushes


All about Brushes

Can a girl have too many brushes?  Don't answer that one lol!!


Brushes are key depending on what medium you work with and as a mixed media artist. I find that I use a variety and the ones that you see have been collected over a number of years.


I do have my favorite brushes that I use for different projects, but when you are purchasing ones for yourself you really don't have to break the bank and there are some really affordable brands that you can buy. 


One of the things you can do with your brushes If you are in a slump is to spend time ordering them, you may not need all the ones that you have and you might be able to bless someone else or do a trade with another artist.

Take a look at some of the brushes that I have in my collection in the video


The Video


Resources

12 Piece Nylon Hair Brush Set


Royal Langnickel


Friday 20 January 2017

31 Creative Things to do with Recycled Materials - Spiced Tea Box

Spice Tea Box Container

Great ways to alter your teabox!

I did a post about this container showing you how to alter it as it utilizes a product that I use quite a lot and that is tea. 

Recycling at its best!
I have a least two cups of Spiced tea a day, the morning ‘wake me up’ to get myself in the work frame of mind and the 'afternoon reflection', the tea has such a delicious taste, I will be sharing at some point about some of the other tea in the Palanquin range.

Over a period of time I got through so many boxes that I thought it was time to create something out of one of them.


I kept the structure of the box with all its parts as I didn’t need it to close but to house supplies that were quite tall, such as paint brushes and things that I use on a regular basis. 

I used brown paper on the box to get the texture and then added gesso it.  You can see instructions HERE


Sitting on the desk I also wanted a reminder of why I was there, and that is to create, and added encouragement with a ‘teabag treasure’ - what do you do with those teabags that are out of date? (you’ll find out about these soon).  

Choosing the lettering
There are lots of great ways you can use these boxes and I will be sharing some more ideas.  

Tea Box Treasures - Amanda Trought - Realityarts

Again, a great way to use recycled materials, for your own space and they can make lovely gifts and you can add your own style.  Join me tomorrow for another creative recycling idea.

For more inspired recycling ideas and useful tips check out Zero Waste Barbados and Journey to Zero Waste

Have a look at some of my ideas on my Pinterest Recyled Board


Stay blessed and be a blessing!

Thursday 19 January 2017

31 Creative Things to do with Recycled Materials - Alcohol Marker Holders

Welcome to today's post showing you 31 Creative things to do with Recycled materials.  Even after the challenge has finished I will continue posting until you have seen all 31 examples, as I had things that got in the way, but we move forward!  

When I make something out of recycled materials I get a real kick, knowing that I have created something that I want, worked out how it needs to be put together, and so been resourceful, and also that I have created something that has another use from its' original intended form.


After I had made the first free-standing pen holder, there was nothing stopping me from making another one. I allowed some of my supplies to dictate slightly how it would look. I really loved the way it turned out and it means that my pens do not have to be stuck in a draw taking up valuable space for something else.


This storage container was made from almond milk and juice cartons, along side cardboard. I worked out the height and width that I wanted and the amount of storage I would need.

The cartons are made from a durable waterproof material, and they don’t readily get recycled here, so I knew I needed to find a way to use them rather than throw them away in the bin, (honestly I am not a hoarder). I think there has to be more government initiatives and more of us have to think about just exactly we are throwing away and use less packaging where possible. What if your rubbish was put in a hole in your back yard, you’d soon run out of space and who would want to live with that, you would soon find a use for more things that you ordinarily throw away. 


Once I had all the dimensions that I needed I put it all together, using one of my favorite tools - my glue gun, and the plaster fabric and painted. And there you have it.  I think it is quite cool!  I am debating whether I want to put an image on the side, perhaps someone with a story wants to come forward and grace the side of the pen holder.


For now I think that they look great in my space.  If I do decide to decorate I will share it with you.  It would be great to see what you come up with using recycled materials, tell me which one has been your favorite so far.  

For more inspired recycling ideas and useful tips check out Zero Waste Barbados and Journey to Zero Waste  
Have a look at some of my ideas on my Pinterest Recyled Board

Tomorrow I will be showing a spicy alternative!

Stay blessed and be a blessing!

Saturday 18 June 2016

Creating on a Budget - Fabric Vase


So sorry that I haven't been around here on my blog.  I have lots to share over the coming weeks about things that I have been getting involved with.  It is great to be able to share some of the opportunities that have come about and as they bless me I hope to be able to bless you as well.

I have been playing around with different materials in the studio, looking at ways in which you can create art especially when your on a budget.  I have a range of projects on my blog that where I have used recycled materials that can be transformed into a work of art and so thought I create a series of a few more things that you can make.  I will rearranging my blog to make some of the projects more accessible, and there will be step by step projects, so please do come back.  Also sign up for my newsletter - the first issue will be out in July, and there will be lots of hints and tips to help you on your creative journey


Fabric Coated Vase
I found some mini vases at my local dollar store.  It can be a great place to find things that you can transform and utilize in your studio, and I have loads of cool projects coming up. 

The original surface of the vase was a lightly engraved but nothing to write home about, so I decided to change them.

I created a face from a mold out of clay and attached using paper clay (another thing I will show you how to make), I then tore up strips of fabric and armed with my powertex (one of my favorite supplies at the moment), coated the fabric and then applied to the vase.


 As the fabric dried I also wrapped it with string to give it additional texture.  Once it all dried I highlighted areas with gold and bronze paint.  I have a video of the vase coming up on my YouTube channel so check there to see it up and personal lol!

I love it, and think it looks quite cool.  I have two more that I will be altering and sharing with you over the coming weeks. 

Fabric Coated Vase - Amanda Trought

Stay blessed and be a blessing!
While your at it check out Craftsy online courses, there are some free ones

Craftsy


Related Posts Plugin for WordPress, Blogger...