Showing posts with label gelli plate. Show all posts

Friday 20 May 2022

The Joy of MOTIF - Rachel Bellamy Online Course


Join Rachel as she brings you on a journey of exploration and discovery, in her new course The Joy of M.O.T.I.F.


She has some amazing processes for creating abstract art and using colors, marks and symbols to bring them together a cohesive collection.


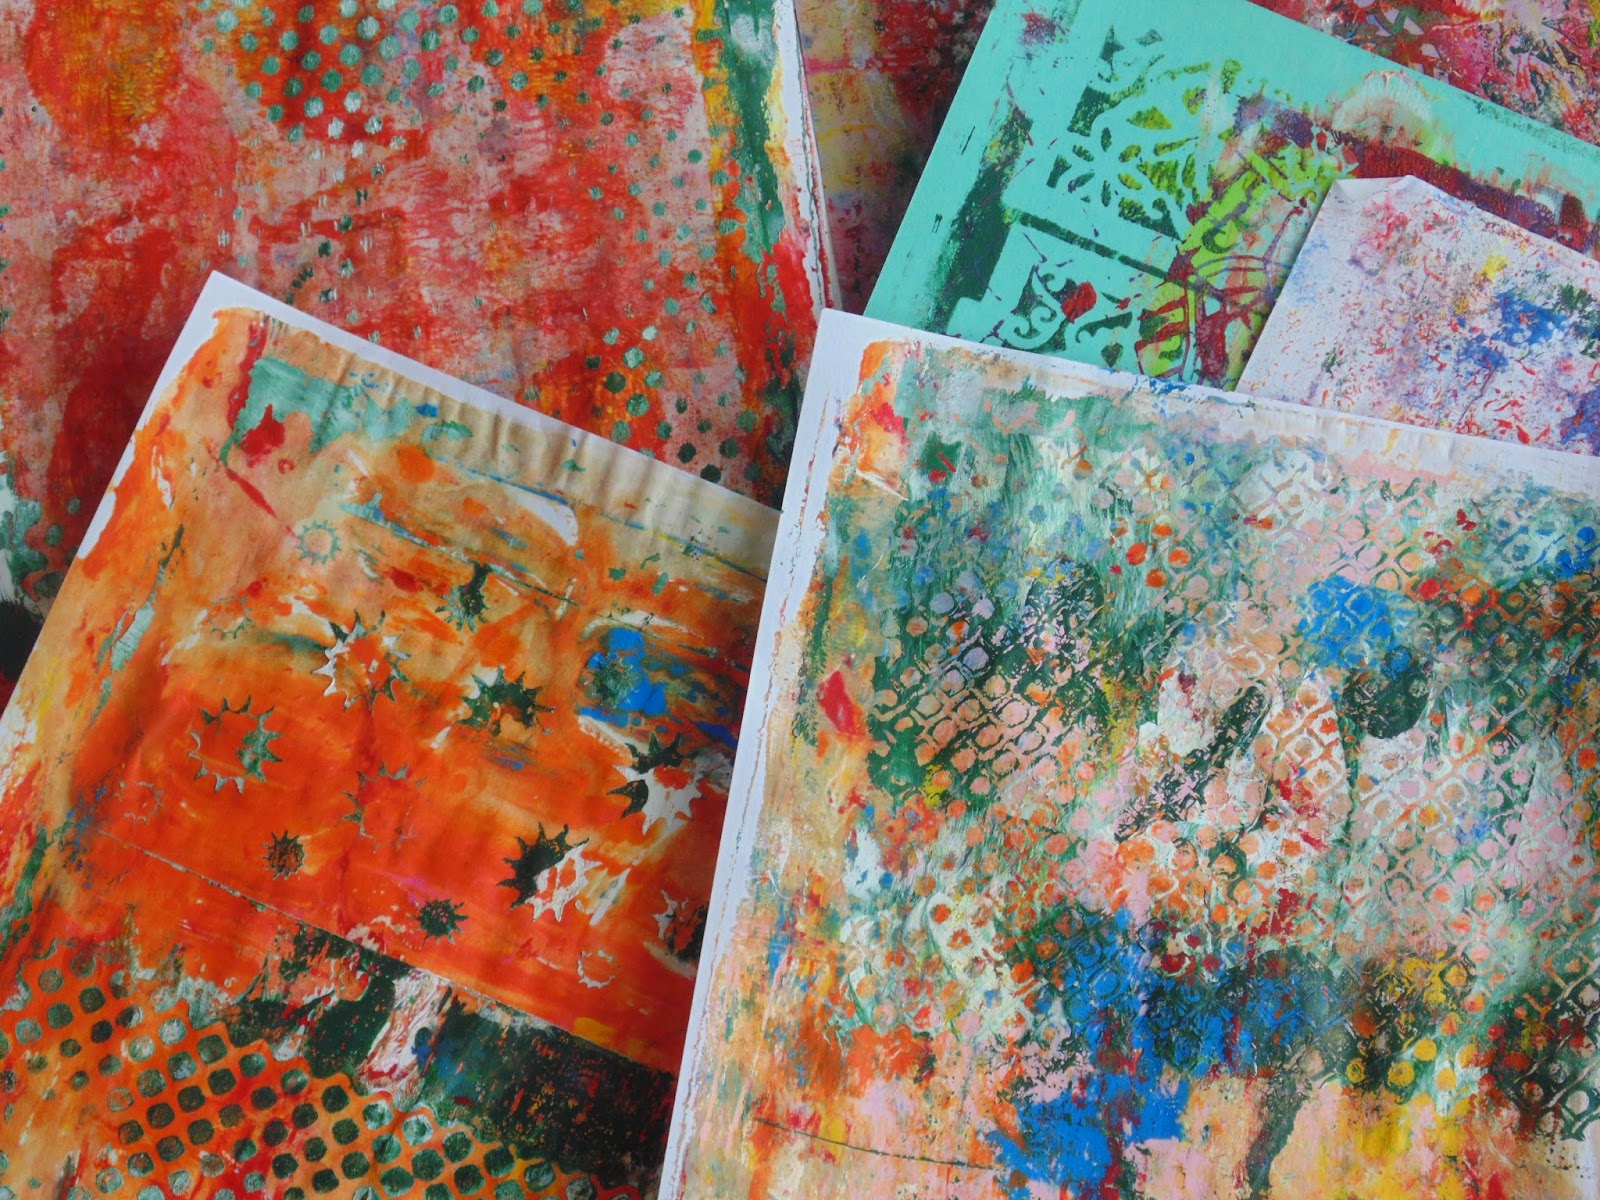
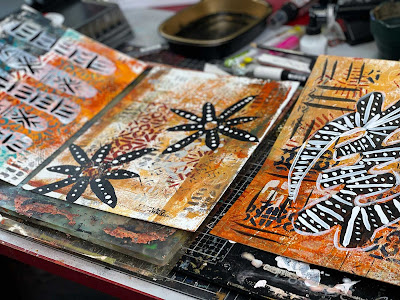
In this class, Rachel shares her M.O.T.I.F. framework that she uses to create a cohesive series of abstract art using gelli plates, a curated collection of supplies and inspired mark making.


Get ready to not just create a few pieces of mixed media abstract art but rather a fantastic array of pieces! You can frame them use them as gifts and cards and so much more!


Rachel will be your passionate guide for this creative adventure, as you create your own body of art work.


Check out Studio Works FREE for 30 days


Wednesday 14 May 2014

How did you do that? Things to do with Paper Stencils!

I shared on Saturday some cool Paper Stencils that I was inspired to make after seeing Matrices site and having a go.  Here are some more that I created, and I will at some point share with you some of the designs that I manage to make.


Creating new styles, these would make really cool reusable stencils!
I promised I would share some of the cool effects once you cut them out that you can get, you can use your Gelli plate apply the stencil and transfer an image to paper and you also get paint on the stencil itself.  Because the paper is quite thin your unlikely to use the stencil to transfer an image again, but you can use the stencil in your art and they can provide you with some interesting backgrounds.  By creating the paper stencil on thicker card or paper you will be able to use it a number of times, even try transferring the image to an acetate sheet and cutting out.

Once you start cutting you are not going to want to stop, you can come up with some really pretty designs as seen above.

 Here is one that I used with the Gelli plate, using a selection of colors will add to the effect

Simple cuts in the paper can create interesting results
 I got more adventurous with cutting and came up with more intricate designs, but due to the thinness of the paper once you had put it on the gelli plate they tore when being picked up.  I guess if you used it with sprays it would have been easier.
I wanted to see how they would print on fabric and used this design on the gelli plate
Chamois leather used on Gelli plate with paper cut
  Here is some cheap chamois leather that I printed on, and it came out quite well.  I am and looking forward to making something with it and will show you next week in Material Mondays.

Once you have used the stencil in on the gelli plate you have some really interesting colors and designs on the paper and you can use these to make your own wrapping paper by sticking it to your paper of choice
Paper cuts used on gelli plate can be used for other creative projects!
 I am going to attach some of mine to some white or black card and frame it as it, I think these are gorgeous.

Another thing I did with some of the thinner cut outs, was to apply them to journal pages as a background layer.

Paper cut applied to journal page
 After it dried I began to sketch out an image, keeping it simple and trying to keep as much as the design of the paper as possible.
Once dry add your image
 Once I was satisfied I added gesso and started painting
Adding gesso and paint to paper cut
 It was interesting starting a painting in this way, seeing what comes up as you add more colour
 Not being prescriptive as to what you wanted the finish piece to look like, but enjoying the play

And here is the finished painting.  

Mixed media Painting using Paper cutting

I am sure there are other things you can do with the paper stencils, if you come up with some ideas do share.  Check back for Material Mondays to see what I do with the Chamois leather.  Stay blessed and be a blessing!


Tuesday 15 April 2014

Tutorial Tuesday - Using your Gelli Plate

Tutorial Tuesday

On Saturday I shared images of the Gelli Plate that I had made, and thought I would show you how I have been using it.  If you want to make one of your own go to Linsay - The Frugal Crafters site, they are very easy to make, all you need is:

Gelatin
Glycerin
square container to set the mixture
water
2 x acetate sheets to prevent drying
Container to store Gelli plate

Once you have made your gelatin plate you are ready to go.


I decided that I was going to print on some fabric.  I have a mini book that I want to make a cloth bound cover for.  It is a piece of white cotton that I have cut to size of aprox a piece of A4 paper.

I also selected some paints and stencils that I would use for the design

I applied some paint and used the brayer to move it around
 I lay the material over the plate and smoothed over it with my hands.
 This is the first layer of paint, I then added some more paint to the surface of the plate and applied the stencils

 Here is the finished material.  I will let this dry and then show you how it turned out for my mini book.

The Gelli plate is a great way to add interesting backgrounds to your work either on paper or materials, here are a few more designs that I completed on paper. 

You can get some great designs using a variety of stencils


and paint combinations - I can see two dancers in this one..

most importantly, have fun, and share what you come up with.  Blessings!


Saturday 12 April 2014

Gelli Plates - DIY

I thought I would get on board the Gelli Plate train, without the expense of having to purchase one - for this size it would have been around £30, which seemed quite expensive for trying something out and not knowing whether I would really use it often enough.  

I came across Linsay - The Frugal crafters website and YouTube channel and she goes through the technique of making your own gelli plate - the ingredients including - gelatin - (6 sachets) and 2 bottles of glycerin cost me in total £8

Tada! Here is the one I made, measuring approximately  7.5inch x 12inch
Home made Gelli Plate

I managed to find a storage container for it at our local £1 store and I placed an A4 sheet of acetate on the bottom and top of the gelli plate which stops it from drying out.


Here are some of the prints I have made so far...


By using several layers of paint and stencil, masks and tools to make marks I have enjoyed creating the different layers on the papers.

 Some have come out looking quite interesting and I will be taking them a bit further by creating an image from them, or use them as background papers.

If you come back on for Tutorial Tuesday, I will show you how I made and have been using the Gelli Plate, who knows perhaps you can make one of your own and open up new ways for creating backgrounds.

Related Posts Plugin for WordPress, Blogger...