Showing posts with label make something. Show all posts

Saturday 7 October 2023

Unleash Your Creativity - Start Creating Today!


Do you ever feel like you're constantly running out of time, juggling multiple tasks and commitments, and simply don't have enough time to express your creativity? If so, you're not alone, I used to moan about not having time to create. 

Many of us struggle to find the time and space to let our creative juices flow. But what if I told you that all you need is a little bit of time, space and a bit of preparation?

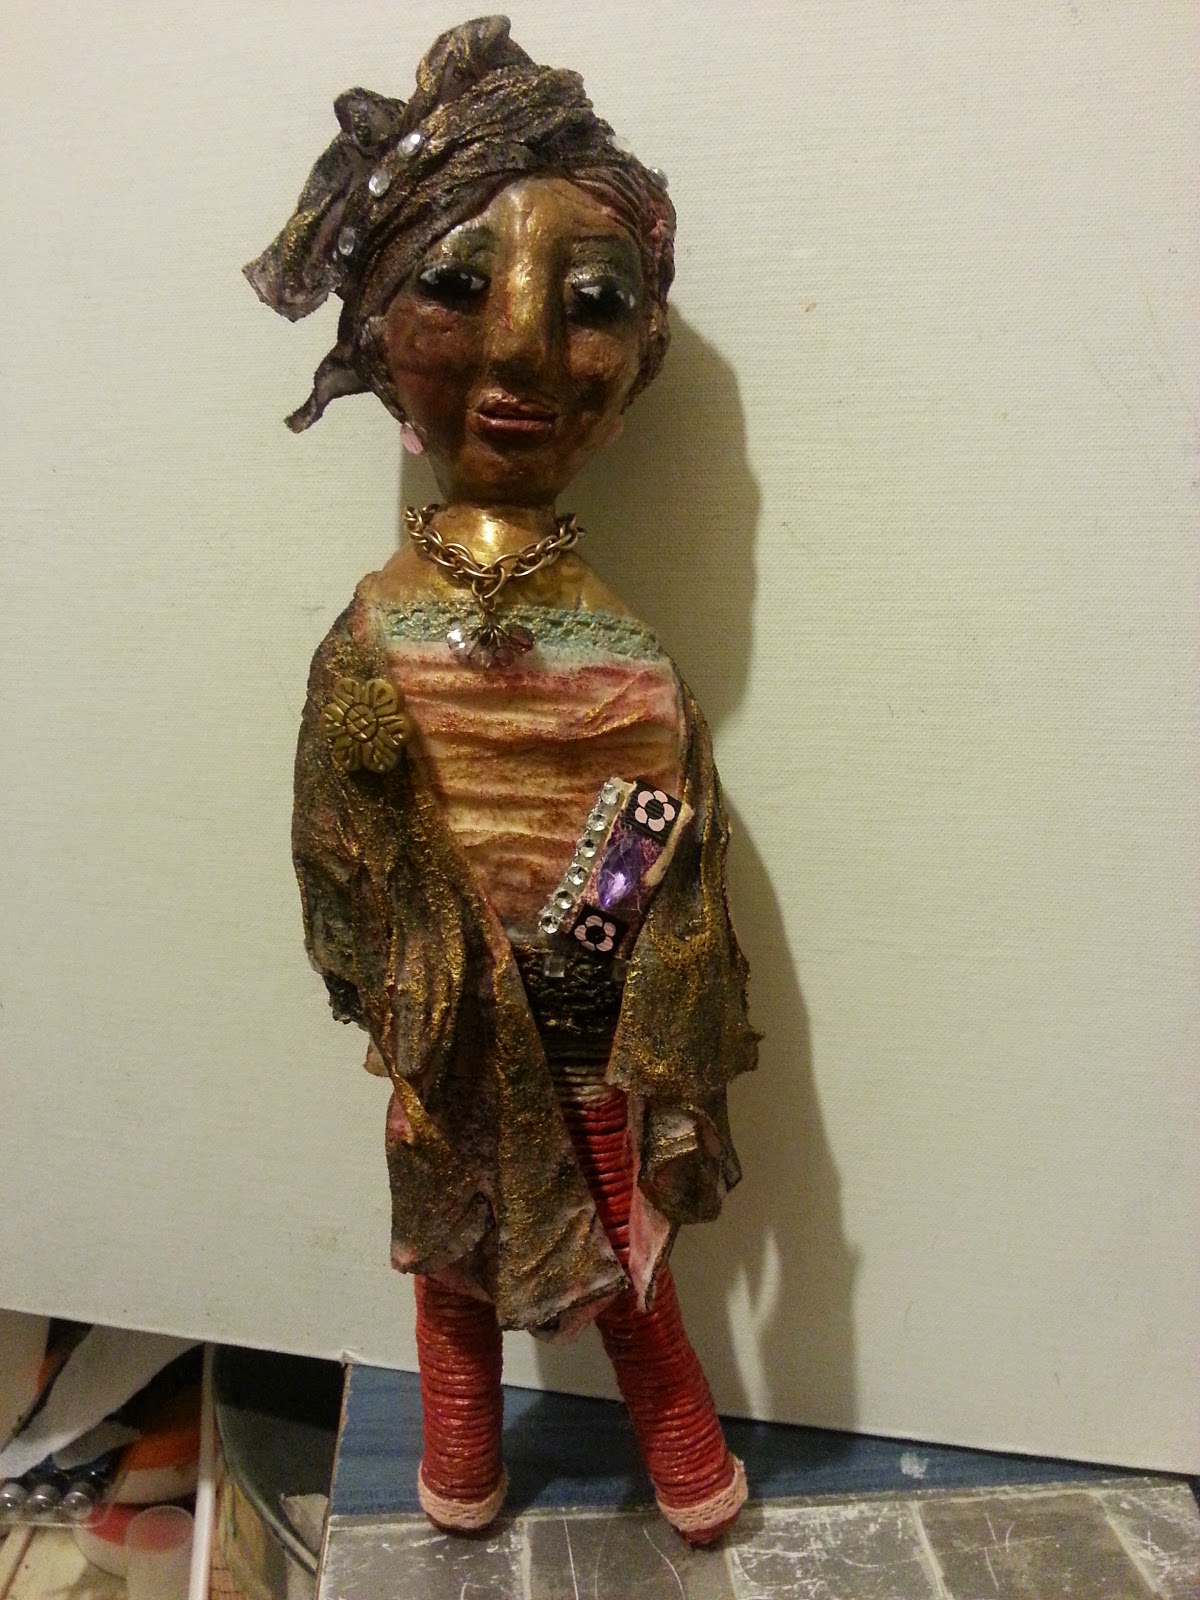
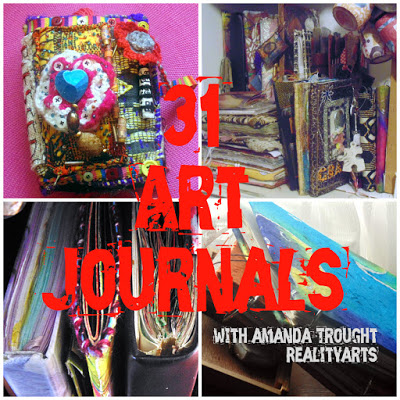
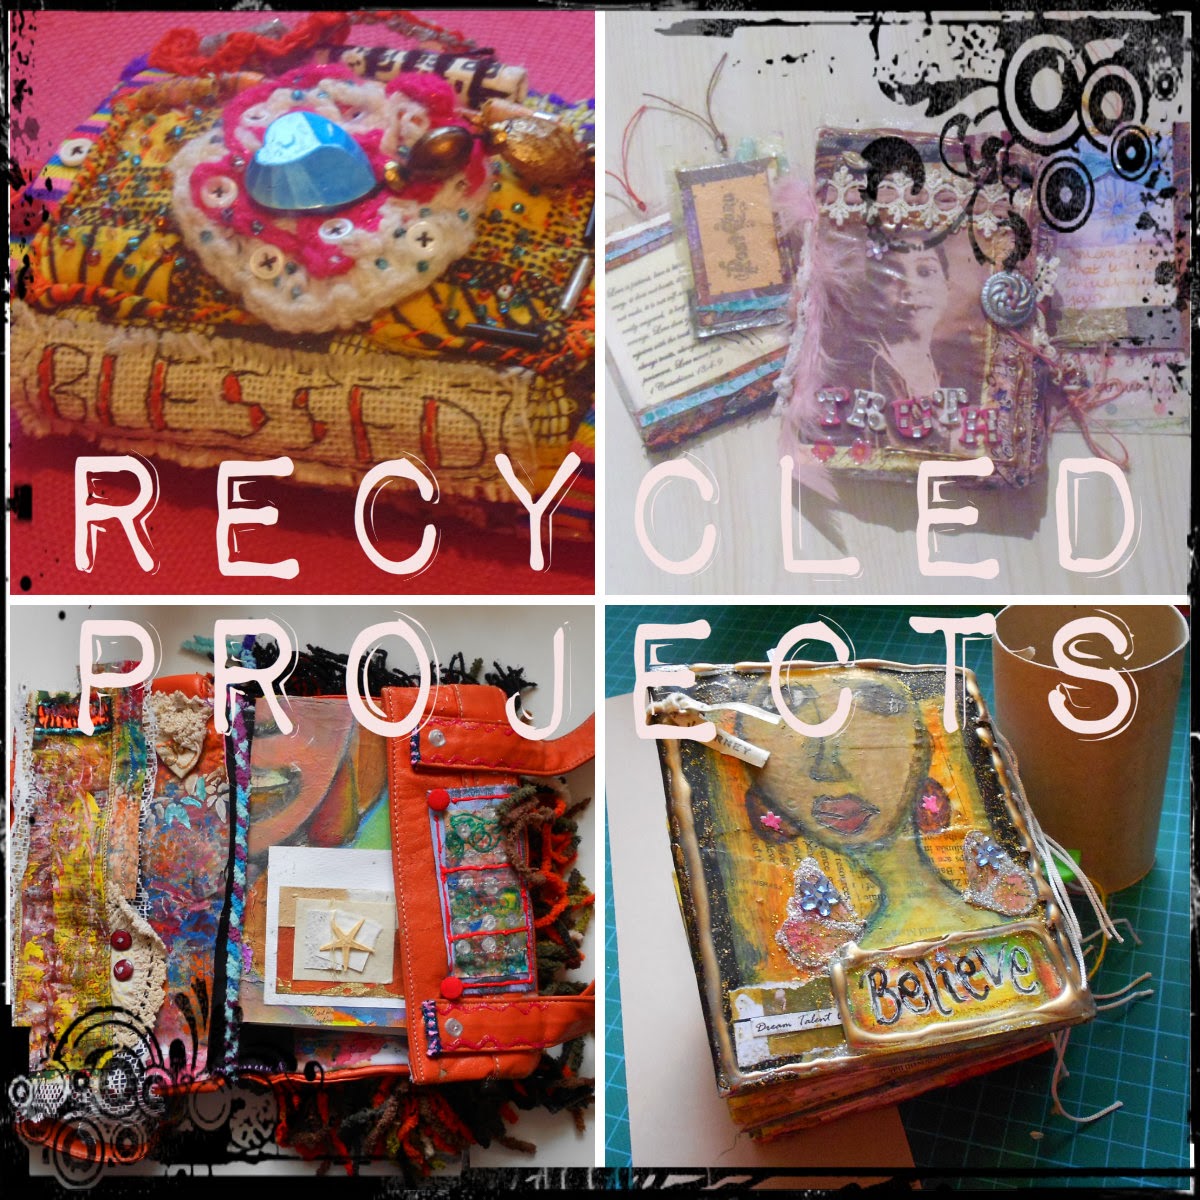
A selection of elements cover this art journal

Creativity is not about having unlimited resources or vast expanses of free time and if you are waiting around for that 'day' it will never come. Instead, think about making the most of the resources and time you do have, no matter how limited they may seem. You'd be surprised at what you can create in just a few minutes of focused, uninterrupted time.

You don't have to be a professional artist or writer to be creative. Creativity comes in many forms and can be expressed in countless ways. Whether it's doodling on a art journal, listening to some music (and dancing like no ones watching), or experimenting with a new recipe, there's no limit to what you can create.

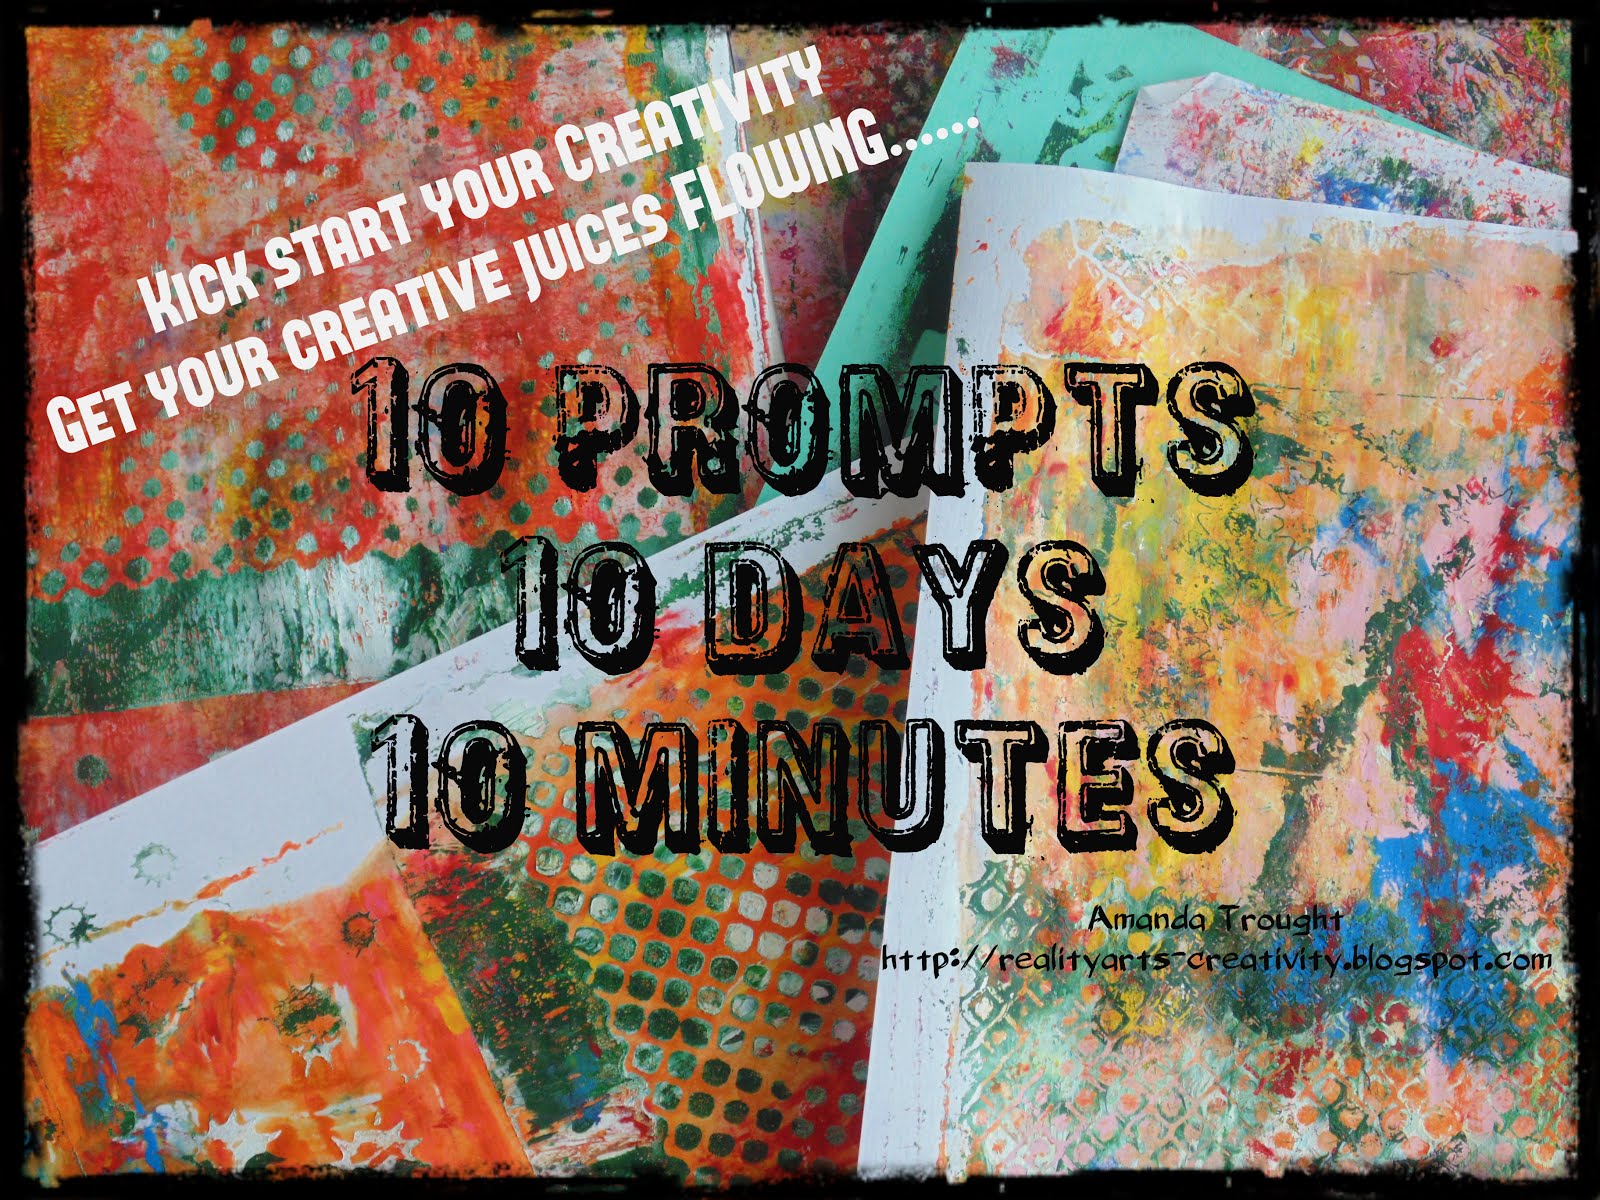
Give yourself at least 10 minutes to get the ball rolling. Set aside this time for yourself, free from distractions and interruptions. Use this time to tap into your inner creativity and let your imagination run wild. You might just surprise yourself with what you come up with!

Embellished art journal page

Check out the Embellishments video which will show you how to create your own embellishments for your art journal or creative projects. In this way you are creating elements for future use and they are there when you need them or if you only have a short time to create. You can also find ways to create pockets of time that you are able to dip into.

There's no better time than now to start creating. It's time to stop letting time constraints and busy schedules hold you back, you have to schedule your daily creative time, and you won't regret it. Embrace your creativity and enjoy the journey that brings immense satisfaction and joy.

Check out some ways to embellish your art journal

Creativity isn't about perfection. It's about expression, exploration, and most importantly, enjoying the process. So see where the journey takes you. You might just find that you have more time for creativity than you thought.

I have a wide variety of videos on my channel and you can get some tips on creating your own backgrounds and working in your art journals, along with the many other free classes and resources that you will find in the Arts Resource Hub.


Saturday 23 April 2016

Recycled Projects - Recycled 101 - Create a trinket bowl!


Welcome to another week of recycled projects, where I have taken a plastic drinks container and turned it into a bowl that can be used to display some of your favorite things.


I have taken newspaper rolls and wound them round the bottom of the bottle, creating a base


 I have then painted it with a water resistant paint product called powertex, and then added a gold finish around the bowl.


It is now a great place to store my stones that are waiting to be painted.  Check out the video below to see it up a bit closer.


Saturday 7 November 2015

Recycled Projects - Promarker Pen holder


When ever I walk into an art shop and see all the great supplies one of the things that I have wanted (needed) is a holder for my pens.  In the past I have dabbled with pro-marker pens and I must do a review on them as they are really great to use.

I have a good supply of them but they were always hidden in my draws and I didn't always make enough use of them because they were out of sight.

They originally came with a set of holders/stands like these - 


but they are not practical for the space that I have taking up too much space on my desk.  I am going to have to find an alternative use for them at some point.

Armed with my new skill for making things out of cardboard and recycling, I decided to make myself one of the stands that I normally see in art supply stores.


I selected the supplies that I had to hand and worked out what I would need.  I ended up using 4 almond milk containers and 4 juice drink containers - obviously you can use the size and dimensions that suit you.


It took a bit of thought to get it to stand the way that would enable me to see the pens clearly while not taking up a lot of space, and I decided to go with the flow and let the final shape evolve rather than being prescriptive as to the look.


I created a section where I could place odd shaped items or pens that I was using at the time on a particular project.  Once I set the intention of what I wanted I began to figure out how it needed to be constructed.  You can literally make so many things out of recycled materials that can be of use around your studio.


I decided to put an additional shelf on the top and then added paper tubes to create a rounded effect on the edges.  It was then covered with paper mache


  I covered it with gesso first then painted it with white paint.  I obtained a great crackling effect using the white household paint


Where I added more paint I got a greater effect.


I then applied gold rub- on in selected places, and then covered it all with pva glue


Here is the side view of the stand with the pens


The top shelf houses the most used pens or the ones that I am using on a particular project.  Because it is made from cardboard it isn't heavy but it is sturdy, which is very important.


Some of the promarker pens came already labeled with the colour at the end, and some didn't so I am in the process of adding the colour stickers at the end of the rest of the pens.

This holder can be designed to fit any sized pen, you just have to decide the length that you require.  All in all I am really pleased, it takes up hardly any room, all the pens are accessible and being made from recycled materials means that it didn't cost a penny apart from the glue and paint....why don't you try it yourself.!


Saturday 17 October 2015

New - Recycled Projects Returns - Cardboard Bookcase

Welcome to a long overdue Recycled Project, and I look forward to sharing with you things that I create out of the things that we would normally recycle and give no thought to.

I will be doing a mixture of Art and Creativity and DIY projects that take my fancy.  If you want to see some of the previous projects you can find them HERE and there are a few more dotted around the blog which I will be gathering together into one place - though that's for another time.

Cardboard Bookshelf

I recently finished this bookcase, I am really proud of myself for making it.


It has truly been a labor of love and quite challenging at times but I persevered and here we have it finished, painted, distressed and ready for the purpose it was built. 

It started off as empty cardboard boxes, I got the basic plan from a youtuber HERE, with my limited Spanish followed along then went and added my own flair

Putting it together was fun


I added a shelf on top and a draw for smaller books
  

I made the feet out of masking tape tubes after they had been used on the structure


After covering most of it with paper, I decided to make some paper tubes and decorate the bookcase with these


At the home stretch with painting, sealing and then embellishing with a gold rub-on


My bookcase is ready, this is how the draw turned out


I couldn't decide whether to leave it in the bedroom or the studio which it was originally made for.


It is great to see something that would have been thrown away become so useful.  There are some amazing things that you can make with cardboard, and I will be sharing more here on the blog.  I will also be putting together the video of the process of making bookcase and I hope you give it a try.


Leave a comment and let me know what you think!  Watch out for other creative makes!


Tuesday 28 April 2015

Clay Dolls - Grace

I wanted to share with you something that I started last year, but only just got around to finishing. I have been busy in my studio and also just reassessing a lot of things and so posting kind of got put to the side.  Anyway there are a lot of things I want to share over the next few weeks.

Having taken Soul Food 2014 it was in one of Mysteles classes where we made a clay doll.  Working with clay was newish to me, I had made a bowl and a few other things, but never really considered making a doll in anything other than fabric.

Grace - Clay doll
Well, I have grown realize as I have been making her how much I enjoyed working with clay, and this only came as I pressed in with trying to finish her.  When I got over half way to completing her, I saw that like my paintings she had a story.  I feel that each character has a story to tell, and a message meant for someone somewhere in the world and I am so pleased to have been able to let her bring her message of hope, love, peace and joy.


Her name is Grace, and she has been dressed in ribbed tights, a pinkish lace rimmed top and goldish/black shawl, head dress and a flower brooch, the head dress, shawl and top are made of fabric.  She has a clutch bag with her for the most important things she might need to carry
.

Accessorized with jewelry with beads and a mini key which unlocks hopes and dreams.  She and a chain at the back which allows you to hang her in a most prominent place.  I am hoping to find Grace a good home and will be putting her up in my Etsy store over the next few days.  

Grace has a story to tell!
She will be joined by some more clay art dolls that I will be making, as I explore this lovely way of expressing creativity. Watch this space!


Sunday 29 June 2014

Material Mondays - Painted fabric

 Material Mondays - Painted Fabric
Material Mondays - Painted Fabric

Welcome back to Monday Makes, it has been a while since I have posted what I have made either from fabric or crochet.  I have been busy in the background and will be sharing with you over the next few weeks, getting back on track

You can do many things with fabric, it is so versatile.  I decided to experiment, and took sari fabric which was quite sheer and sandwiched a piece of paper between two pieces of the material.

This meant that I was able to stiffen it up prior to working on it.  After letting it dry I painted with gesso and was then able to add an image.

I also added some journaling and beading on the body of the image and also as earrings


 It was great to experiment by adding the beads, and being fabric made it easy to sew.  I found that because the material was so sheer you needed to take extra care to add enough glue to the surfaces, which resulted in areas where it didn't stick properly.

A remedy would be to use these areas as a part of the decoration and sew additional beads to these parts, try to flatten by ironing them out or cut and reseal, which will probably be the most effective remedy.  I haven't quite decided what I will be using the decorated fabric painting for, and this will inform to a certain extent how prominent the areas look.

Painted and decorated fabric
Why not see what you can do with the fabric that you have and do something different with it.  Do let me know how you get on.

If you are considering learning how to crochet, or any other creative activity check out Craftsy online courses, at the moment they are doing a special offer on some of their classes, and they are offering some free mini courses. Click here

Have a blessed day, see you tomorrow for Tutorial Tuesday.
Related Posts Plugin for WordPress, Blogger...