Showing posts with label Recycled projects. Show all posts

Sunday 29 March 2015

Material Mondays - Fabric Wall Hangings - Love is the Key

It has been a while since I make one of these as they are quite detailed and there are so many different directions that I love working in as a mixed media artist.  I think that these satisfy the side of me that likes order, my left brain side that wants things organised and put in its place.


With each one I make I learn and experiment that much more in an attempt to encourage the tools to do what I am visioning in my mind.


Sourcing the embellishments and jewelry to use are also great fun, and then the placement of each is equally as important as selecting the colours to use in the overall composition.


The colours and the textures blending together all with a purpose, a story, thought or memory as the backdrop to the piece.


I have several more that I am working on that will be part of the 'Piece of Me' exhibition next year, and I look forward to telling you more about it soon.  

Next week I will be sharing with you ways in which you can use Chamois leather in your creative projects!

If your interested in learning new techniques check out Craftsy below.


Craftsy.com  

Crochet, Knitting and much more! Every Monday on Material Mondays I share a project that involves either working with fabric in some way or crochet. If you want to learn how to crochet or work with fabric and a number of other courses, then check out Craftsy. For all new subscribers they have a selection of free online classes, and are always running a special offer on some of their fee paid classes.


Monday 28 July 2014

Material Mondays - Fabric Dolls Part 2

 Material Mondays - Painted Fabric

It always amazes me how quickly time flies - they say especially when your having fun, but it has been quite a busy week that saw most of my posts fall by the wayside, but not to be deterred and getting back on track again, finds me with the second doll.

In Last week's Material Monday I shared with you a doll that we had been shown how to make by Susana Tavares on the Soul Food course.

Well I made another one, in exactly the same way, but for a different use.  
Crochet flower and button detail

It was a very simple pattern, which you decorate with your choice of paints before hand and then put the pattern together and sew.

Once this has been done you can decorate however you choose, or leave it as is.


I really enjoyed making the doll and I kept her face fairly simple.  I added a crochet flower and band for her hair, which is wool.  I attached the hair in the same way that you would create a rug - by attaching to her head a simple crocheted hat I then hooked the wool around the spaces on the hat.

I got the bangle from the charity shop and it made a lovely choker, and I crochet a few rows together and made her a belt.

She wasn't happy until I made a bag for her to carry around with her, and this was made from scraps of material sewn together to create a bag journal

Handbag that doubles as mini mini Journal - for quotes!

It is usable and I thought that I would create a booklet type bag that I can use to write down inspiring quotes
Journal Bag

With an additional slot to hold some mini tags!
Mixed media Art Doll

Here she is ready for action.  I would love to see what you can come up with, they are so easy to make and can be given as gifts.  I have an idea of making some smaller ones, she currently stands at 14 inches and is 7 inches wide.  I hope that you've been inspired, come back for Material Mondays to see what I make next week!

Sunday 29 June 2014

Material Mondays - Painted fabric

 Material Mondays - Painted Fabric
Material Mondays - Painted Fabric

Welcome back to Monday Makes, it has been a while since I have posted what I have made either from fabric or crochet.  I have been busy in the background and will be sharing with you over the next few weeks, getting back on track

You can do many things with fabric, it is so versatile.  I decided to experiment, and took sari fabric which was quite sheer and sandwiched a piece of paper between two pieces of the material.

This meant that I was able to stiffen it up prior to working on it.  After letting it dry I painted with gesso and was then able to add an image.

I also added some journaling and beading on the body of the image and also as earrings


 It was great to experiment by adding the beads, and being fabric made it easy to sew.  I found that because the material was so sheer you needed to take extra care to add enough glue to the surfaces, which resulted in areas where it didn't stick properly.

A remedy would be to use these areas as a part of the decoration and sew additional beads to these parts, try to flatten by ironing them out or cut and reseal, which will probably be the most effective remedy.  I haven't quite decided what I will be using the decorated fabric painting for, and this will inform to a certain extent how prominent the areas look.

Painted and decorated fabric
Why not see what you can do with the fabric that you have and do something different with it.  Do let me know how you get on.

If you are considering learning how to crochet, or any other creative activity check out Craftsy online courses, at the moment they are doing a special offer on some of their classes, and they are offering some free mini courses. Click here

Have a blessed day, see you tomorrow for Tutorial Tuesday.

Saturday 28 June 2014

Recycled Projects - 'John Lewis' art Journal

How many times have you come across a catalogue that you were not really interested in the products, but the paper that it was made from?  Not to say that I don't like John Lewis products, but when I came across this catalogue I thought that I would put it to use.

You can make a journal out of anything, putting the pages together for yourself and creating to your hearts content.  The fun lays in taking something made for one use and totally changing it, and seeing what each page will eventually become.

My use for this journal is as a jump start to get my creative juices flowing using some of the pictures as inspiration and for when I have a limited supply.


I first set out to decorate the front using paints, stamps, modelling paste, and markers to remind myself that its purpose was to inspire, not get overwhelmed with what I wanted to create, but just play.  

On the back cover I wanted to create a painting but it also had to be durable as it would be taken around, thrown into bags and experience rough and tumble.


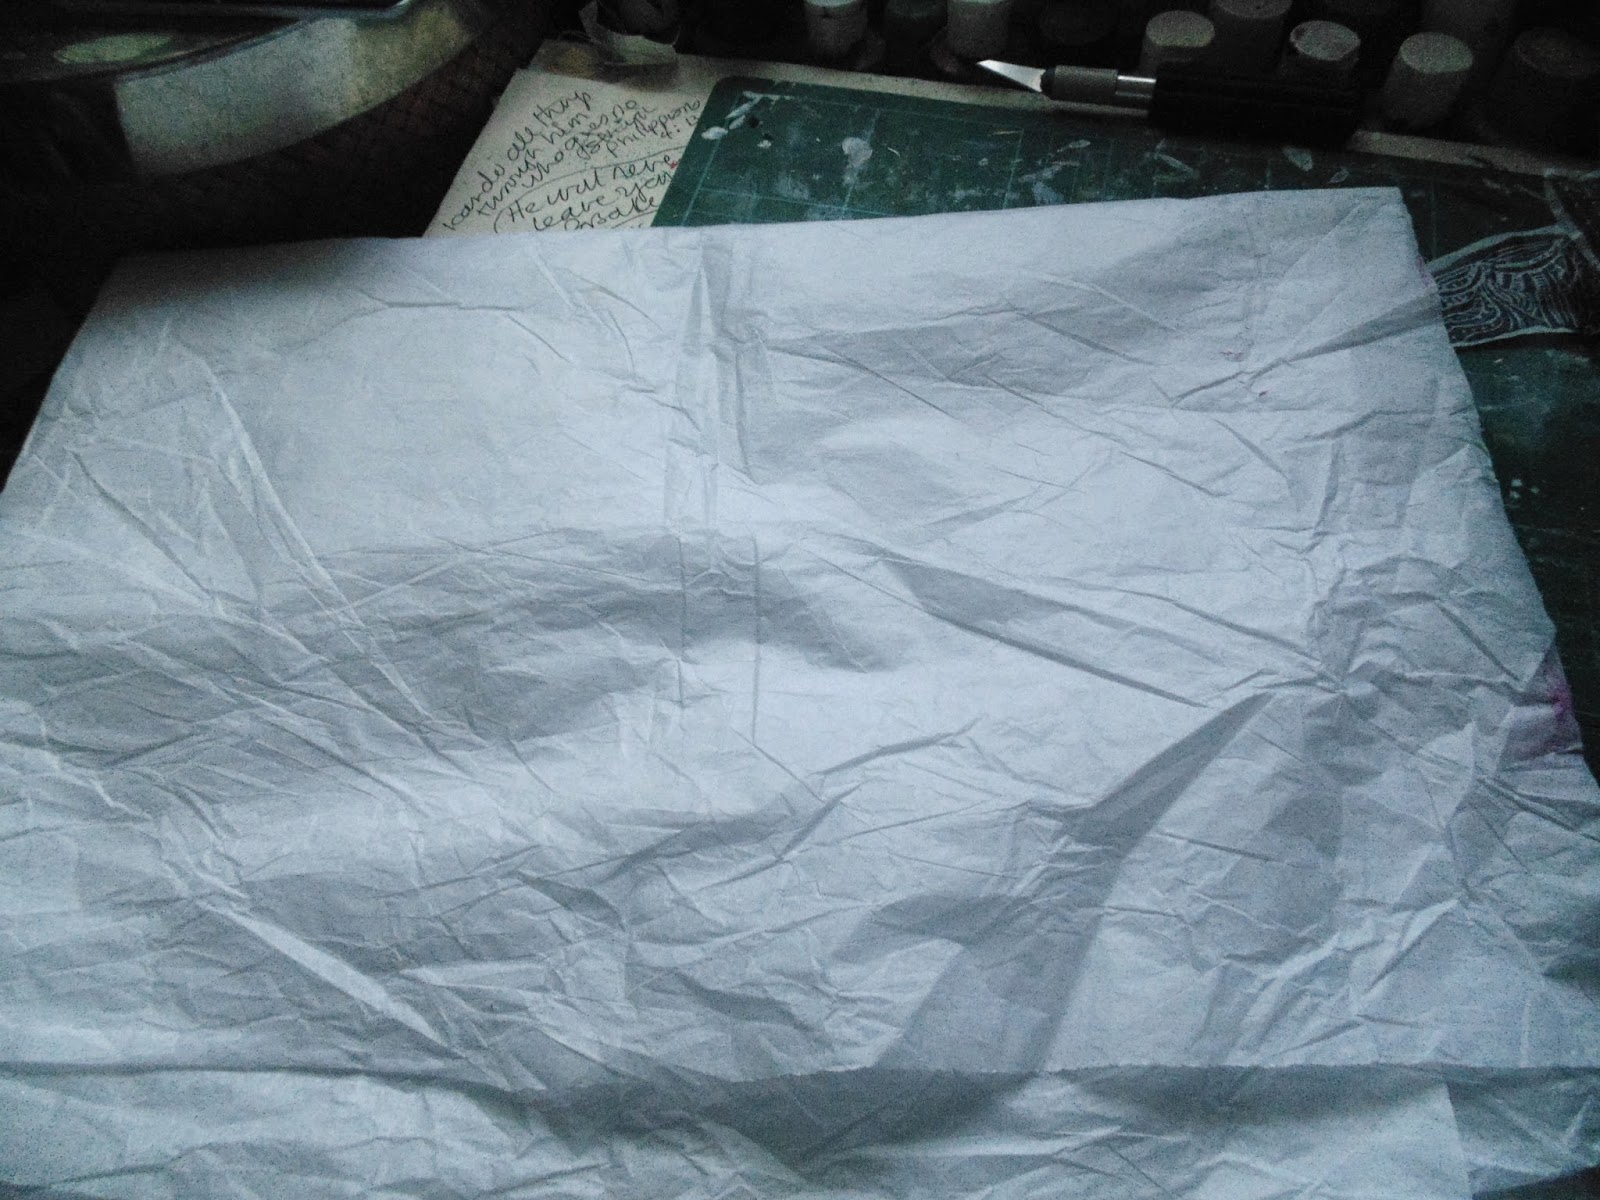
Using tissue paper glued randomly to the back, applying paint and then sealing it all in means that it is a journal that will stand the tests of time, or there about.

I proceeded to stick several of the pages together to create a strong surface that would take paint well, and then I see what images inspire.  Each page has a selection of beds, bedding and household furniture and I either use the room settings as the basis for the page, or draw something totally unrelated. 


Here is a page that I chose to do create a scene with, after it is chosen and I start to draw round the items I want to keep in charcoal. 


I get a sense after a while of the characters that may be present in the room, and this young man found his way in the room, and decided to jump all over the bed.


Using gesso I block out those areas that I don't want to keep and think about either adding additional characters or thinking about paint.


This little girl couldn't resist joining the little boy to jump all over his parents bed, and so that's how I have been using the journal to think about ideas and stories about the lives of the people that join me on the pages of the journal.

I have yet to finish this page, but finishing is not the main objective or motivation, it is to continue to take the time to be creative if possible every day.

Here are a few other pages that I have started, and work on bits when the mood takes, and I look forward to working on them.


On some of the pages I have been working on, stories waiting to be told.


Some stories tell of hope and looking to the future.....


thinking about the past, and being present.......


But most of all working in this journal has been a fresh way of looking at things, often those things that we see day after day and making something new.  I really do encourage you to look at some of the things that you can recycle and use for creative purposes.  Check out some of the other Recycled projects that I have made.  Over the next few weeks I am looking forward sharing other recycled art journals, and ones that you can also make and bind yourself.  Until then stay blessed!


Saturday 17 May 2014

Recycled Projects - Tissue Paper

Recycled Projects
Recycled Projects - Tissue Paper
What do you do with the tissue paper that comes either with a gift or wrapped around an item of clothing - throw it out? reuse it to wrap something else? or use it in your creative projects? 

Well I thought I would show you a couple of great uses for them that involve a bit of creative thought and a mind to play, and are always going to produce really great results!

Firstly, the tissue paper can be used to create texture in your creations.  You apply glue to the surface and then add the tissue paper, once it is dry you can paint it in your color of choice, adding additional layers to your work.

Secondly you can use the tissue paper to clean your gelli plate once you have got all the prints off.  You can build up a number of layers of paint, then use the tissue paper in your work in that way to create a background.

What I have been finding really useful is using either shop brought stamps or making your own Handmade stamps and applying to the tissue paper you can create transparent layers to use within your art work.

selection of tissue paper that has been stamped
Here is one of the stamps that I created 

Here are some of the handmade stamps, check the link above to see how to make some of your own.  They are easy to make and you can get your own unique designs.

Once you have decided which design you want to use you cut it out and apply it to your art.


Here are a selection of stamped tissue paper that I used within some of my art journals.

Handmade stamp flower design
From the brought stamps I used quite a few bird designs


As well as butterfly wings
 Gratitudes and Celebrations Journal
Once applied I painted them to the color of choice.
 Gratitudes and Celebrations journal
Wings and the word inspire was stamped onto the tissue paper
Armed with a few ideas, I am sure that you will look at tissue paper in a different way.  Try it for yourself and see what you can come up with.  You can reuse and recycle it, and create so many things, let me know what you decide to do, and share your images! 

Saturday 10 May 2014

Recycled projects - Paper Stencils and masks


I came across a tutorial by Martice Smith II which was quite inspiring, it was her intricate paper stencils and gift wrap ideas, where she creates a stencil and uses some of the designs in making your own customized wrapping paper.

Always one for having a go I thought I would make a few of my own.  I guess it is similar to paper cutting, which I never thought I would have the patience for, you can get some really intricate and beautiful designs.

For these I took some construction paper which is quite thin that had been used on one side, you can use any type of paper you like, and it is a great way to use up those pieces of paper that you would put in the recycle bin. To cut these I just used a pair of scissors, making it easy to get instant results, you could also use paper punches in some areas.
Keep the designs simple to get really great results

After you have folded your paper into a triangle and then folded a further two times you can mark out a simple design on one side.

Cutting away areas on the paper 

Cut them out, and voila you have some lovely stencils and masks below that you can use in a number of different ways.

Paper stencils - one of my favourites

Squares cut out gives an interesting design

I couldn't resist doing a few more

Simple shapes create lovely effects

and here is how they turned out

The simple designs are the most effective
 These can be used as a stencil or a mask when using the Gelli plate but the possibilities are endless!

I am going to use these to create some more Gelli prints - see my previous Gelli prints tutorial, and I will show you how the designs look on Tuesday and I will probably use these background papers to decorate some handmade books I am toying with. I will also show you how you can take the stencil once you have used it in a mixed media background.

Do check out Martice's site, she has very generously shared some of her designs in a free ebook, you need to sign up to access.  Have fun and allow your creativity to soar!


Sunday 5 January 2014

Learning - Creating in Faith


Your life is your message to the world.  Make it inspiring...Lorin L Lee

Learning

Learning comes in many shapes and forms in a formal setting or non formal and every day we are learning new things about ourselves as we reflect on our lives and experiences.  How have you done so far with all the things you said you were going to do at the beginning of the year?  Granted it is only the first week, but you need to hit the floor running, or perhaps you already have and all we can do is look at your dust as you whizz into the distance...

‘For I know the plans I have for you’, declares the Lord, ‘plans to prosper you and not to harm you, plans to give you a hope and a future – Jeremiah 29:11

Organisation

I am currently surrounded by lists and schedules as I slightly run after myself in doing the things I want to do.   I had a great flurry of action towards the end of last year and now in the New Year schedules are still to be finalised, courses have started and I am wondering where the week has gone so far.  I am mindful though about keeping up with all the things that I have committed myself to do and in the midst of it still enjoy the process.

God had planned something better for us so only together with us would they be made perfect... Hebrews 11:40

Having made the decision to cut back on my posting for Tutorial Tuesdays, Material Mondays and Recycled Projects, I will be sharing what I have done in the classes and what it may have brought up creatively for me.  I am also looking forward to the growth and the insight which should come with learning new information.  I already know that I resonate towards more structured way of working.  I like knowing what is planned for the next week and what I am working towards.  It stops the wandering from one thing to the next as you get more and more distracted.  I learnt that I need to just go with wanting structure among the spontaneity of the creative practice.

Creative Sundays

Next week Sundays will see the beginning of my Creative Sunday’s posts – Expressing your creativity in a spiritual environment.  I look forward to sharing each week and producing a video of the process – as part of getting myself out of my comfort zone and moving forward.  My word which I shared for the year is ‘Attention to Detail’ which for me will require me to be more focused and disciplined as I am asking a lot of myself this year.

Commit to the Lord whatever you do, and your plans will succeed..Proverbs 16:3

Attachments

I am also learning about my attachments and my ‘you never know when you can use it’ mindset, we are spending time over the next few months to declutter the house.  My husband is more ruthless and when we talked about it last year I was all fired up caused it seems so far away.  This weekend he went and got the boxes and made a start and I have found myself justifying why it is alright for him to get rid of his things but some things (all of my things) need to stay.  I am realising the more I have been thinking about it that there are some strong emotional ties that I will need to deal with alongside the excuses that are already preparing themselves at the back of my mind. 

Last year I did a 30 day de-cluttering challenge and so I know that I can do it I guess admitting how I feel is the first step to moving on,  and there is a limit to how many books you can hold onto and read, or how many clothes you can keep, although since starting creating recycled projects I find a use for quite a lot of things, mainly boxes, packaging which I will have to limit or make sure that what I make goes to a good home (am I justifying again??).  

Making the way...

At the end of the day I know that I have done it in other areas and I will have to just work through it.  I know that God has much more for me this year - there are new adventures to experience, new environments to be in and new things to learn and sometimes you have to let go of things.  You can’t take these things with you, you have to make the most of them while you are living and share what you have with those who are in a less fortunate position.  

Let us step into 2014 knowing that we did all the things that we needed to do, we stretched ourselves, we were more than we were last year and we made a difference in the life of at least
one person.  

What are your plans for 2014, where are the changes going to be made in order for you to move forward?


Psalm 121 1-4– I lift my eyes to the hills – where does my help come from? My help comes from the Lord, the Maker of heaven and earth.  He will not let your foot slip – he who watches over you will not slumber; indeed, he who watches over Israel will neither slumber or sleep
Related Posts Plugin for WordPress, Blogger...