Friday, 13 December 2013

Gratitudes and Celebration Journal - Week 23 - Move Forward!

Do not allow the past to hold you back.....


In my bid to make changes to the way I do many things it calls for stepping out of your comfort zone.  You know how it is, you get comfortable with certain things and when you try and shift out you go back to the old ways.  But we have to grow, and we need to keep growing and every year you should be able to look back on something new that you have tried, or learnt.

Some of you will have seen changes on my blog and posting and I will be sharing more things that I have been doing, quietly working away, making that way and in times of doubt dusting myself off, picking myself up and going at it again.

Gratitude's and Celebration - moving forward


The page reads 'Do not allow the past to keep you back, move forward' and today I am grateful that I can keep moving forward and make the most of each and every opportunity that has come my way and is still on the way.  I am also grateful to be able to try so many different things, Sekani showed me how to get instagram on my windows phone and I have been messing around with it, so many photos to share.
Completed page - Keep moving forward!

Today think of those things that you have allowed yourself to be held back by, what are you going to do about it? One small change over a period of time can make the difference. I would love to hear from you and share what you will be tackling next.

As this week draws to a close can you think of the beautiful things in your life. Do leave a comment and have a blessed weekend!
If you want to see how I made the journal (click here)

Wednesday, 11 December 2013

Perfume - Memories of Home


Welcome to Memories of Home, if you would like to find out more information about the series, Click here

Being in a supportive environment is important to our growth as individuals, not everyone has had that opportunity and as adults we try and create an environment that will nurture and bless our children and indeed ourselves.

Memories of Home - Perfume

Perfume

When we were younger mums favourite perfume was one by Yardley called ‘Lilly of the Valley’.  It seemed timeless, and was a lovely perfume.  It became one that mum became known for and she always had a good supply requesting it for birthdays and Christmas presents.  It was what we called a ‘mum’ scent and you would be able to smell it as she walked past or in one of those much needed TLC moments where she would give you a hug and tell you not to worry that everything would be fine and you were comforted and it all seemed alright.  Yardley back then was seen as quality, with their products being packaged and only available in certain places, it is now thought of as a perfume for the 'older lady' according to the news papers, but if your not one for fitting in with social pressure you’ll buy it if you like it!  

I grew to love perfume and the sweeter scents from a young age, when I can afford it I like to treat myself with floral tones and favour geranium, ylang ylang and jasmine.  I also find that a few of the selected men’s eau de colognes have some gorgeous scents and from time to time I have brought myself one that takes my attention, there is one that I have been eyeing up for a while called Hermes that I really like – but that will have to go on my wish list. 

A couple of years ago I found some Lilly of the Valley bulbs, and brought them not having much expectation with their growth and put them in on one side of the path as you come to my front door.  Well they grew, and what was amazing was how delicate they smelt, their scent got stronger in the evening and so you would come home and be greeted by a subtle blend of jasmine and Lilly of the valley along with the rosemary and the lemon verbena plants.  What is also lovely about these plants is that they are perennials so every year they not only grow back they spread as well.

Perfume and aromas have a way of transporting you back to a memory and Lilly of the Valley is like for me, it takes me back to my childhood and a time where you didn’t have a care in the world, and the adventure of life lay ahead and whether in a bottle or in the garden will always bring on a warm feeling of comfort and safety.

What part of your home or your childhood holds those special memories, please leave a comment and I hope you continue to join me on my journey over the weeks, as I share my mixed media houses and look back to the memories of home. I look forward to hearing about some some of your own memories. 

Blessings and peace to you!

Tuesday, 10 December 2013

Tutorial Tuesday - Mini Frames

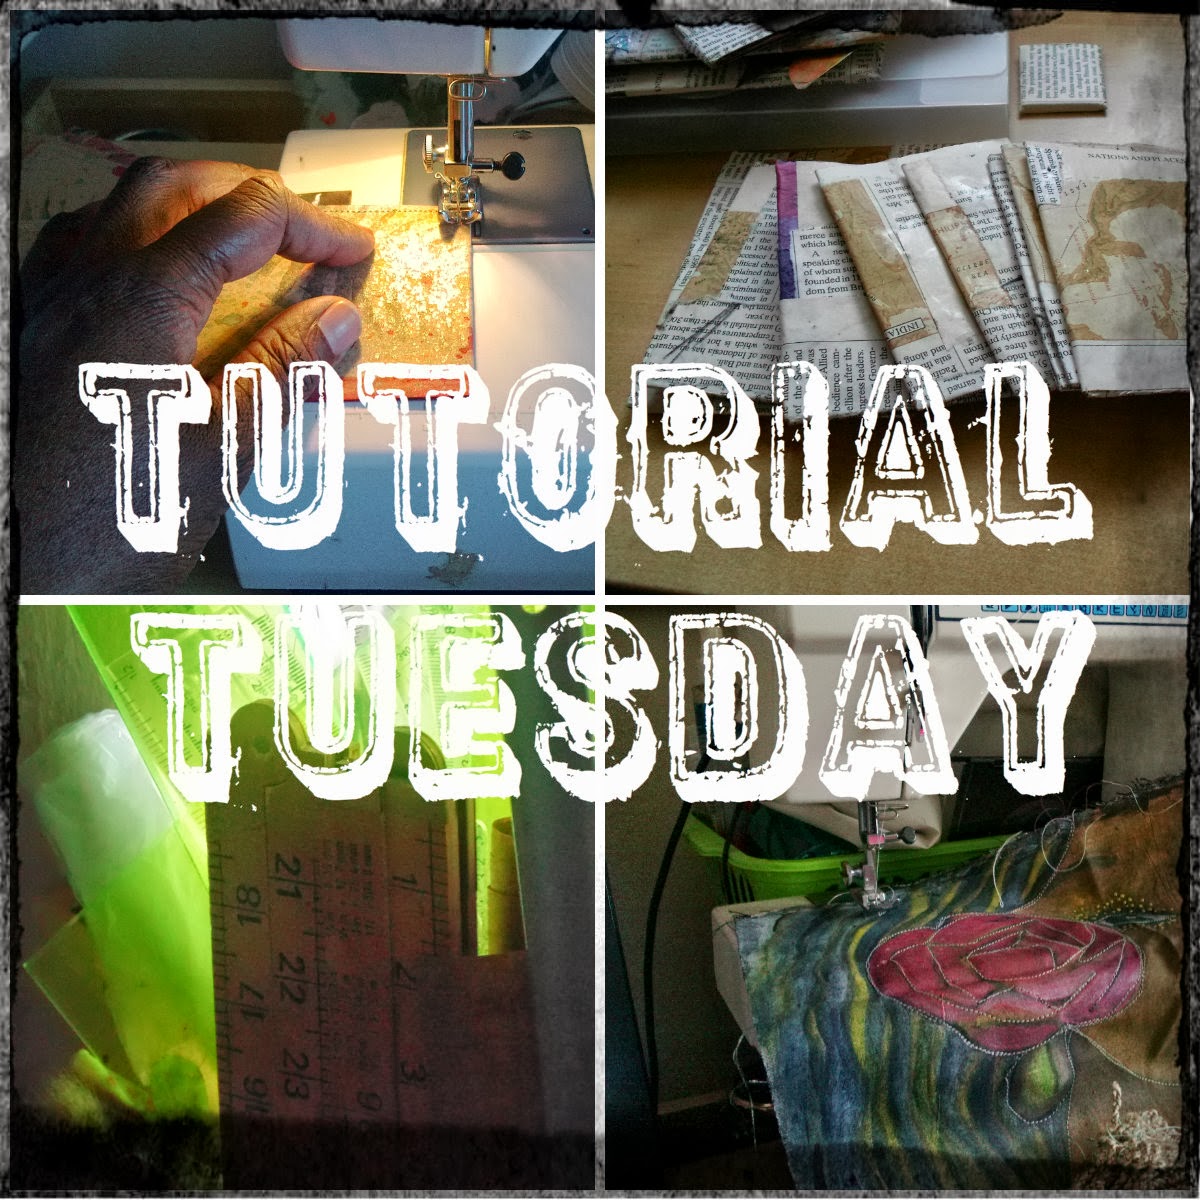
Tutorial Tuesday

Tuesdays' Mini Frames
I made a selection of mini frames at the end of November alongside some that I made into necklaces and I thought I would show you just how easy it is to create your own, from recycled materials that you probably have laying around your home.  Here is another look at the selection that I made, but you can check out the post HERE


You can create any size that you want, but I guess the small ones have a cuteness to them!

To make your own you start with the following tools.

You need cardboard from any packaging you might have laying around, 
selection of interesting images from magazines, 
handmade embellishments in a variety of sizes, 
glue, paint, 
jewelry findings - if you are going to turn it into an item of jewelry
Cardboard being recycled for a creative project
 Cut the cardboard to the required size, and select the image or embellishments that you want.  Mine measure 2 inches x 1 inch and the one with the circle embellishment measures approx 1.5 inch x 3/4 inch
Use whatever paper you have available
 I covered both sides of the cardboard with paper first,
 a couple of layers should do, then let them dry
You can use gesso or paint of choice
 Once dry, coat them with gesso, again a couple of coats and leave to dry
The stamp is for the back of the project to add interest
 I stamp the back of mine as I am going to make them into jewelry, using the stamps I made in a previous post HERE
 Once the ink has dried, give them a coat of pva glue and this will seal it.
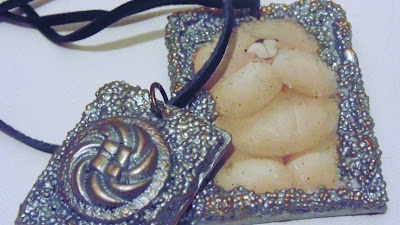
 Attach you image to the front.  The embellishment was made using clay, painted black and highlighted with goldfinger paste.  The bear image was taken from a catalog.
Applying the glue
 Applying glue around the embellishment and the image I coated them with quinoa (which had passed its' sell-by date) and allowed them to dry
 As the embellishment was raised I applied a second coat of glue and then another coat of quinoa

 Once they had dried I coated them with paint in pewter which gives it a metallic look
Inexpensive jewelry - one of a kind
Completed necklaces with highlights of goldfinger paste.  I attached a finding and faux leather thong! 

I hope you have a go and let me see your results.  You can try using a range of materials that will give different textures and look to your project, and also try different shapes. Do have fun and share your results.  Until next week!


Monday, 9 December 2013

Material Mondays - Painted Recycled Fabric


Painted Recycled Fabric

I have been having fun painting fabric for use in a variety of creative projects.  I found out by error that acrylic paints don't come out when I was painting while wearing an item of clothes that should have been covered up, but wasn't.  After washing the paint didn't come out, and so acrylics alongside fabric paints became part of the tools used to create designs.
I have also been using a lot of recycled materials that would normally be unusable for making another item of clothing prior to painting because they are too tatty, but once painted the materials take on a different texture and then can be incorporated into your design as you wish.
The first three fabrics were taken from a school uniform trousers made from a polyester and cotton mix and to prepare the fabric I used gesso as a base and then applied the paint, pens and stamps.
On some of the fabric like the one below which is a school shirt which I used as a mop up while painting other projects came out with quite nice patterns and will make a great lining for another project.
old school shirt
Here is a shirt decorated with paints and stamps and used to line the inside of my bag journal.  You can check how I made the bag journal HERE
using school shirt to line the inside of Recycled bag journal
Here is the inside of the journal once completed with more painted fabric used as pockets
recycled bag journal and inside pages

When you use fabric that has already got an unusal pattern within it it can create some great effects
Baby wipes - I used them quite a bit in the studio, as a means for clearing up, but when they get soaked with paint, they begin to take on new life and I can hear the sewing machine calling for some experimentation.
baby wipes can be used in creative projects
I also found some scraps of leather that I have begin to experiment and play it has a great texture and I am looking forward to using it in a project.
Old leather can be given a new lease of life by painting
Back to the school uniform trousers, because the material was quite thick I didn't need to coat it in gesso first. I wanted to experiment with different mediums and so used derwent artbars and applied glitter on certain places on the piece below, 
fabric portraits using artbars
This piece used gesso as a base then I used artbars again along with pearlised glue, and fabric paint. The colours do come up slightly brighter.  I used a sewing machine to highlight some of the features and the flower.
I have not yet decided what I will be using this piece for, will have to give it some thought.  Have you tried experimenting with fabric?  It would be great to hear about some of your work, so do leave a comment and link to your post.
Using stitching to add to the effect of the fabric portraits
If you are considering learning how to take part in creative activity check out Craftsy online courses, at the moment they are doing a special offer on some of their classes, and they are offering some free mini courses. Click here.
Related Posts Plugin for WordPress, Blogger...