Saturday 23 November 2013

Recycled Projects - Teabag Treasure Boxes

What do you do with the boxes from the teabags you recycle?

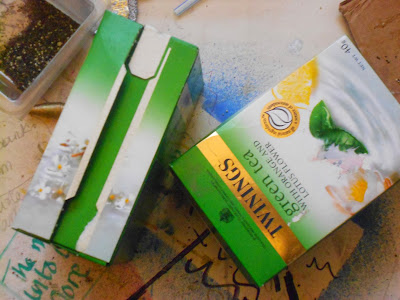
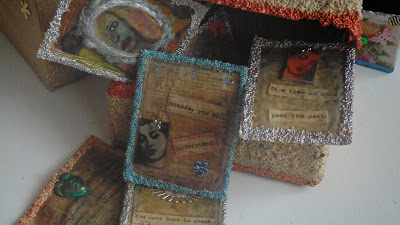
You would have got a glimpse last week of one of the boxes that had been altered below when I showed you the teabag treasures post 


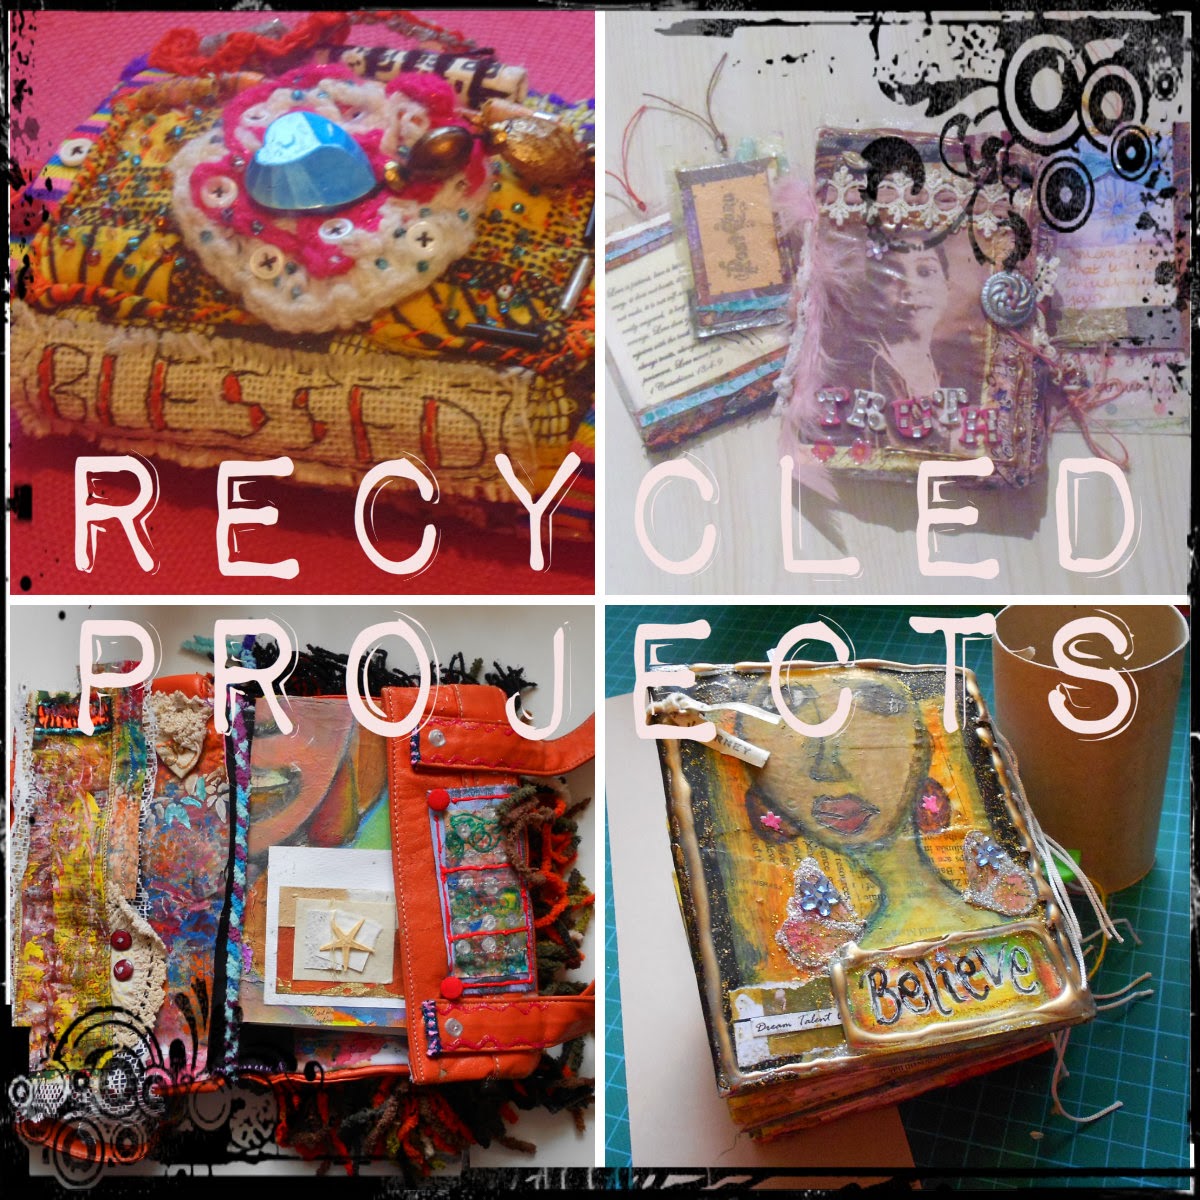
There are some great ways that you can decorate the boxes and here are a few suggestions...

I wanted to create a home for the teabag treasures and what better place than the boxes they came from in the first place. Each box came to life with its own feel, not quite having an idea of how I wanted them to look,


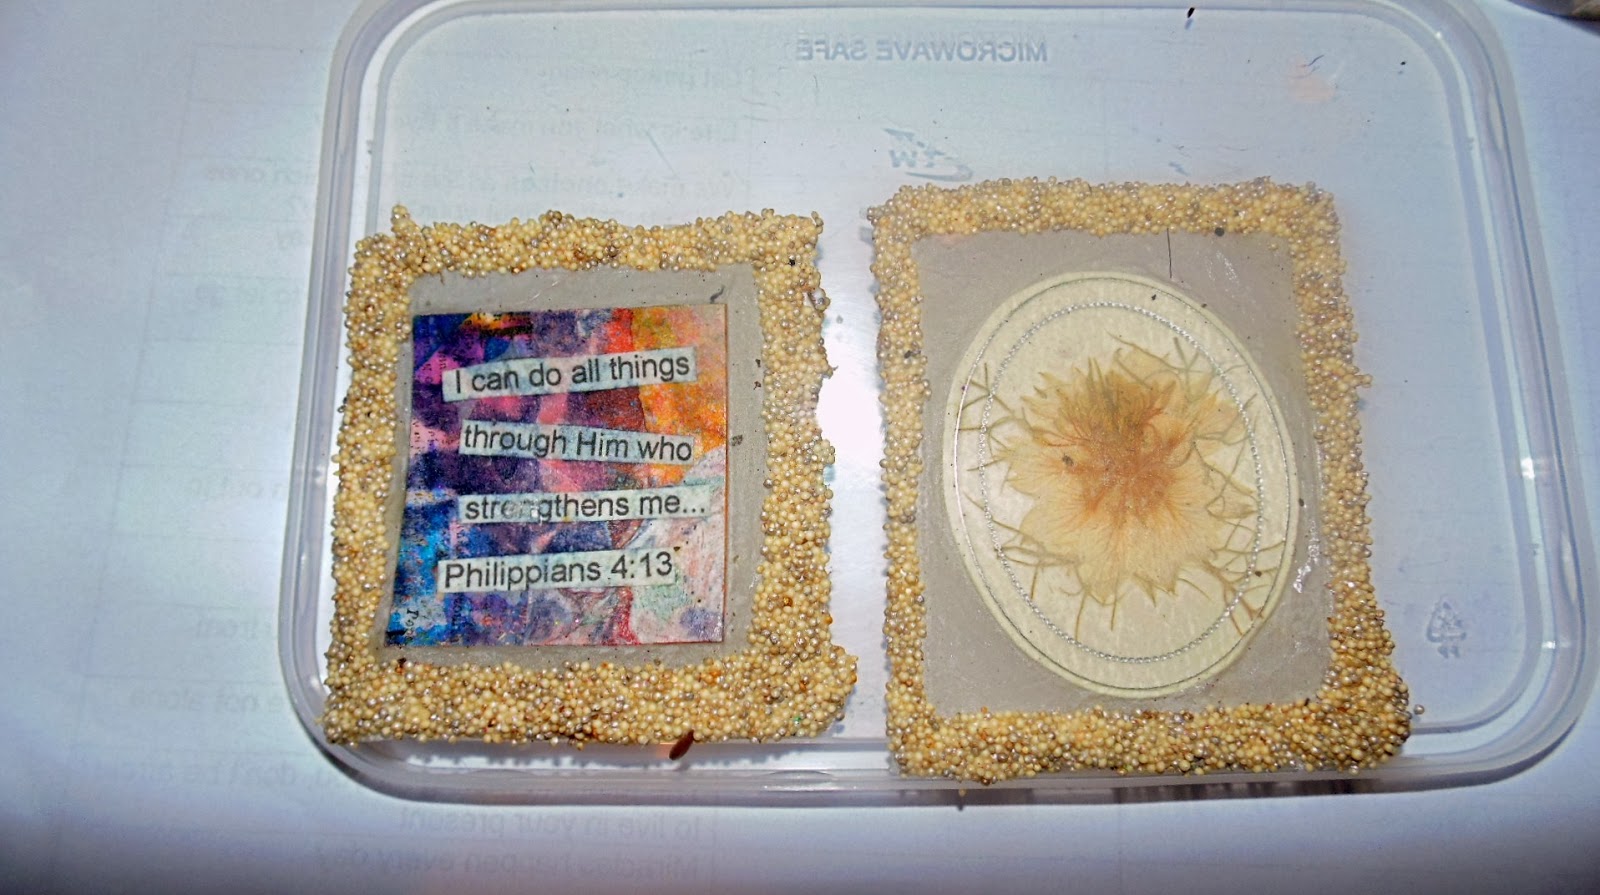
I decided to spend time playing.  The one below is covered in quinoa which gives it a lovely texture and it has flowers hanging from the lid of the box.

This box had initially been covered with a gold textured paper, and covered in gesso to give it an old feel, then covered in some goldfinger paste.  The box also has some home made washi tape around the middle.


 This box was covered in sequins and decorated paper

All in all the boxes came out quite pretty and is a really easy project


I hope you have a blessed weekend, and allow your creativity to push back the boundaries in order to allow yourself to really soar!

Come back on Tuesday to see how I made the Teabag boxes in Tutorial Tuesday. Do share creative ways in which you have used recycled materials and leave a comment below.

Friday 22 November 2013

Gratitudes and Celebrations Week 20 - Attention

Gratitude's and Celebration - Attention
What has grabbed your attention this week about your journey?  I still believe I am on the journey, willing to experence and make the most of the opportunities that come along the way.

Will we ever arrive and know all there is to know about everything - I think not, that is what makes life so exciting.  There is still time to learn new things, venture to new shores and watch another sunset.

I celebrate being able to see my son get to an age I remember as if it were yesterday, it seemed as if I had all the time in the world to live my life.  I am grateful for the opportunity to be creative and for the resources I have at my disposal.

As this week draws to a close can you think of the beautiful things in your life. Do leave a comment and have a blessed weekend!

If you want to see how I made the journal (click here)

Wednesday 20 November 2013

Space - Memories of Home


Space - Memories of Home


Welcome to Memories of Home, if you would like to find out more information about the series, Click here

Being in a supportive environment is important to our growth as individuals, not everyone has had that opportunity and as adults we try and create an environment that will nurture and bless our children and indeed ourselves.

Space

Growing up we were never limited with the amount of space we were able to have access to. While we lived in a 3 bedroom apartment with a small balcony, we had access to a very local park with lots of greenery, and an even bigger space in Hampstead Heath and Parliament Hill fields. Our parents encouraged us to ride our bikes, scooters and even on foot to explore, engage and have fun in our environment.

As I have grown older, I have relished having space around me. My garden that I tend provides another living space that we can all enjoy whatever the weather. As my son has grown and his sister now with a home and family of her own, I was able to claim my own creative space, which I feel has enabled me to grow as an artist.
 
Space - Mixed media house
 
I would love to hear what creative ways you have made your space yours and I hope you continue to join me on my journey over the weeks, as I share my mixed media houses and look back to the memories of home. I look forward to hearing about some some of your own memories. Blessings and peace to you!

 
Space to Dream....


Tuesday 19 November 2013

Tutorial Tuesdays - Teabag Treasures

Tutorial Tuesday

Teabag Treasures
On Saturday I showed you my teabag treasures HERE.  Today I will be showing you how to make one of these decorated teabags to make your own treasures.  They are pretty straight forward.

Select whatever type of teabags you may have.  There may be some that got forgotten in the back of your cupboards that you can use.

Here are some of the tools that I used for this project.


Take the teabags and make a slit on one side and then cut along the top of the bag. Pour out the contents of the teabag.

Select from a range of things that you might have already or that you want to make, and encouraging word, an image that can go inside the bag.


When you are satisfied with the contents that you have cover the bag in pva glue and coat the back as well.  Allow to dry.  The glue helps the teabag to stiffen and has a leathery type feel.

For the frame of the bag I used quinoa and put a beading of glue then sprinkled the quinoa on to cover all of the glue.


Allow to dry and then add any additional embellishments 


You can either leave the edges as they are or you could put a coat of paint of your choice, alternatively you can rub 'goldfinger metallic finish' to give it a vintage look.

Teabag Treasures
Once complete give it a final coat of pva glue on the front and the back which will act as a sealant.  You could go on to use these bags in your journals, on cards as a gift.

I am looking forward to sharing next weeks recycled project.


Related Posts Plugin for WordPress, Blogger...