Showing posts with label how to make a mini journal. Show all posts

Friday 18 November 2022

52 Art Journals - Mixed Media Mini Art Journal


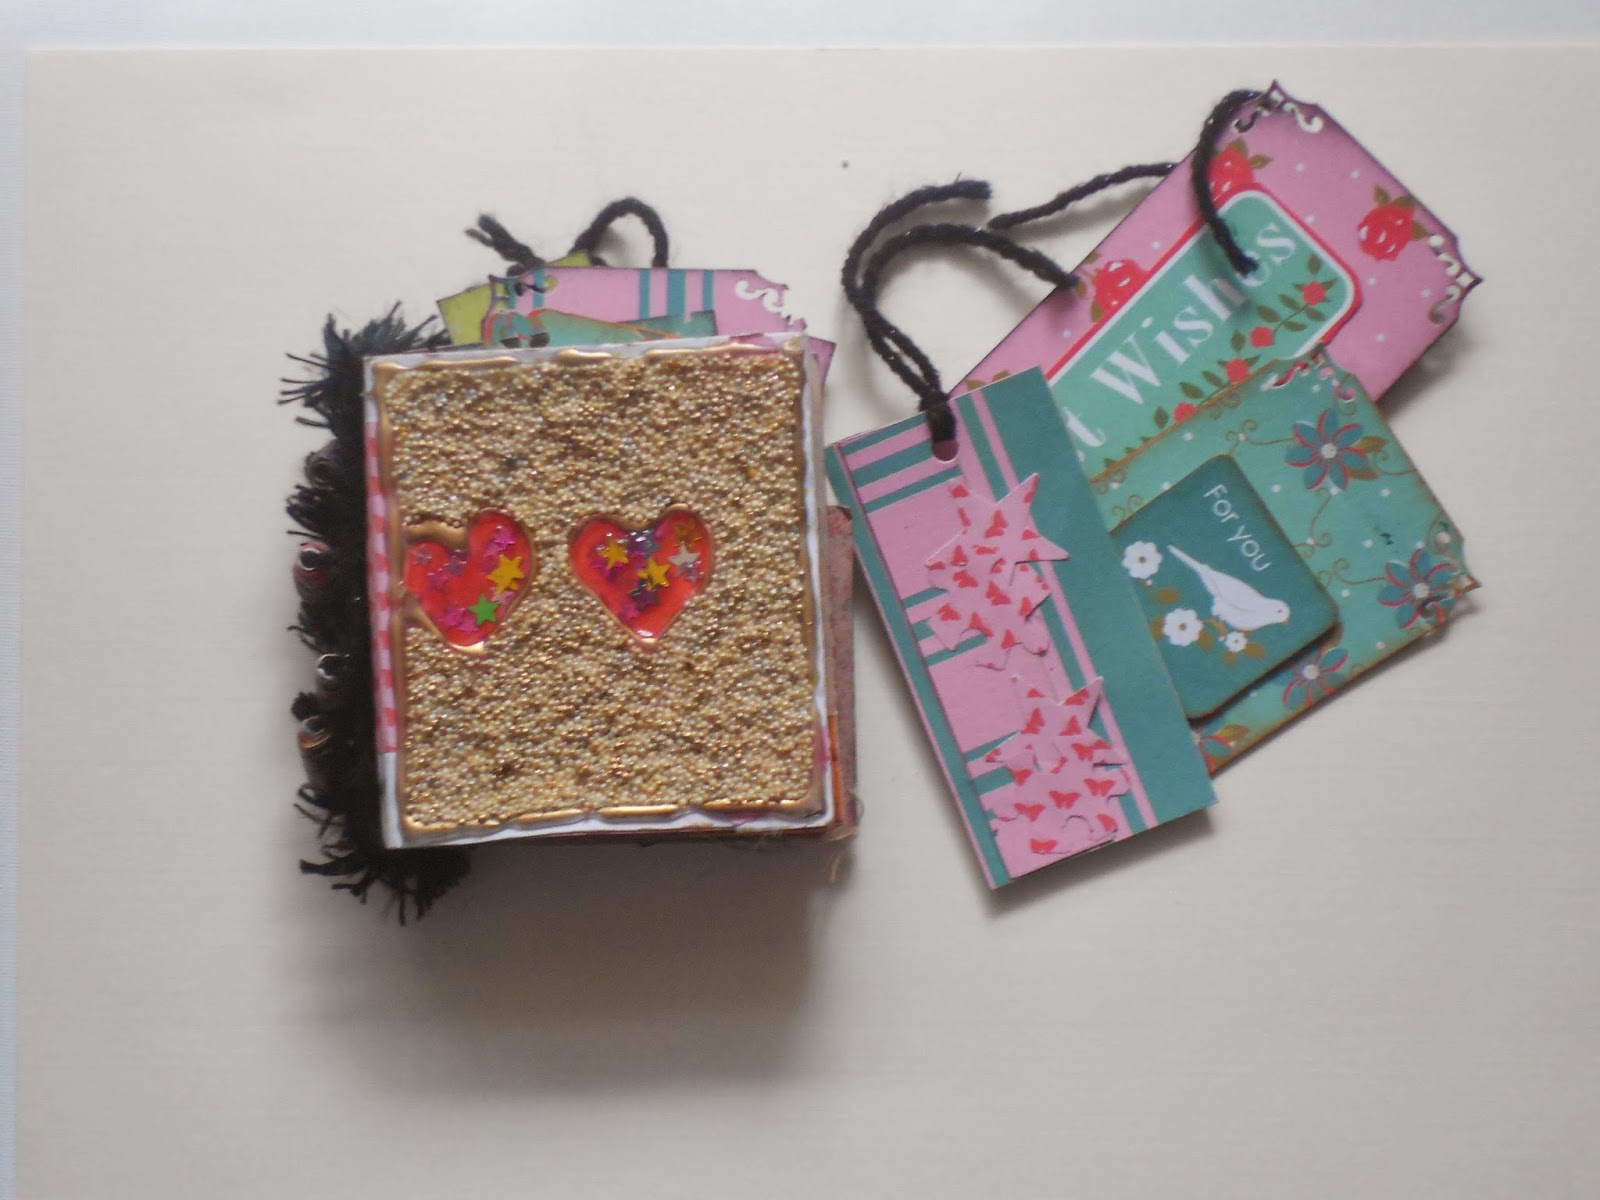
This Art Journal uses digital papers I created for my patrons.  They also get to see how to put the art Journal together. It's made from one sheet of paper or card. I have used the digital paper and collaged additional onto the covers of the mini journal.


We have on the front card cutouts which was originally from a greetings card with a butterfly and some flowers and flourishes and then we've just got some other elements using ribbon.  I have used background paper and painted paper as well underneath and altered ribbons on the side. 


On the pages I also use old artwork, collaged and stamped tags and embellished handmade paper. I have left space in the journal for additional writing or doodling 


You can check out the video above to see more details

If you are interested in some of the resources, you can check these out - 


***********************************************************************
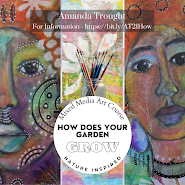
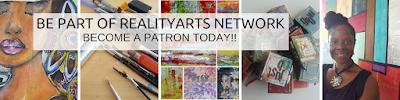
Check out some of these offers


Friday 29 July 2022

No Sew Art Journal - Art Journal Flip through and Make Your Own!


Welcome to my One Sheet Art Journal where I will be sharing with you a flip through of a selection of Art Journals and then showing you how to create one yourself. Check out the video above.  I love these mini journals as they are so easy to create and you can create so many different themed journals to use.

These are the journals that I am going to show you how to create


I start out by using a scrap piece of A4 paper from your recycling pile - this will be covered eventually so it doesn't matter what it has on it.


I use a range of supplies - and I suggest you go into your paper stacks and see how you can use them up on the pages.


After they are created I add paint - I find water color paints to be really easy to use - you just have to be mindful of how much water is on the brush.  You will then add any stickers, ephemera or words that you may have to add.
Here are a list of the supplies
  • Sheet of paper, - can be recycled paper from your stash
  • Background paper, I used ones that I had stamped images on - sign up to one of My Free courses and get a selection of art background papers to print out - https://bit.ly/coursesart
  • Water Colors/paints of choice (amazon have a wide variety to choose from - https://amzn.to/3zkO8PK


****************************************************************************

I am teaching - Check out my FREE Courses - https://realityarts.thinkific.com/ For More inspiration behind the scenes and exclusive content please visit my Patreon page. https://www.patreon.com/realityarts


Check out additional digital papers on my Etsy Store


Friday 20 October 2017

31 Art Journals No: 16


Welcome to today's Art Journal as part of the 31 Art Journal Series.  I really like this journal and the idea of making it from a recycled children's book.  You can get some lovely designs that they just don't seem to make when you get to a certain age. 

This book was made as part of a course I did on Willowing Check out some of her courses, and when you sign up for her newsletter you get access to here free 4 week course


This Mini Art Journal was all about us, our friendships, and more.  We had to include an image of ourselves when we were small and write out encouraging words.  What would you liked to have said to your 5 year old self?  What encouragement would you give, what would you have liked to have known.


What would you say about your friendships, we did a whimsical page of and example of our friendships.  Its funny when you think you usually have a small core of people that you really connect with, as opposed to the hundreds/thousands of friends you may have on Facebook


Take a look at the video and see what else I put in the Art Journal, let me know what you think.

Tomorrow I will be doing a recap and sharing some tips for your Art Journal, and on Sunday I will be sharing a video with you to get your creative juices flowing.

The Video


Tuesday 15 April 2014

Tutorial Tuesday - Using your Gelli Plate

Tutorial Tuesday

On Saturday I shared images of the Gelli Plate that I had made, and thought I would show you how I have been using it.  If you want to make one of your own go to Linsay - The Frugal Crafters site, they are very easy to make, all you need is:

Gelatin
Glycerin
square container to set the mixture
water
2 x acetate sheets to prevent drying
Container to store Gelli plate

Once you have made your gelatin plate you are ready to go.


I decided that I was going to print on some fabric.  I have a mini book that I want to make a cloth bound cover for.  It is a piece of white cotton that I have cut to size of aprox a piece of A4 paper.

I also selected some paints and stencils that I would use for the design

I applied some paint and used the brayer to move it around
 I lay the material over the plate and smoothed over it with my hands.
 This is the first layer of paint, I then added some more paint to the surface of the plate and applied the stencils

 Here is the finished material.  I will let this dry and then show you how it turned out for my mini book.

The Gelli plate is a great way to add interesting backgrounds to your work either on paper or materials, here are a few more designs that I completed on paper. 

You can get some great designs using a variety of stencils


and paint combinations - I can see two dancers in this one..

most importantly, have fun, and share what you come up with.  Blessings!


Tuesday 15 October 2013

Tutorial Tuesdays - How to make a Capturing Moment Mini Journal? and Competition

Tutorial Tuesday - Capturing Moments Mini Journal

In today's Tutorial Tuesday I thought that would share with you how to make these simple journals - Capturing Moments.  I called them this because they capture moments of whatever you want to use them for.  I was inspired to make some more after two that I made from recycled materials were shown in a magazine called Craftseller.

Here's how you put them together:

Measure out card to suit the size you want
Recycled card measures 3x7inches 
 Choose paper that you want to use as the cover both sides and use either pva glue or double sided tape


Using a bone folder you are going to create a spine allow 3 inches on either side and one inch for the spine, this is where the signatures will be sitting
 The signatures measure 3 x 6 inches in length and you will need 11 of them 

Fold in half an see how they fit in the book

 Get your wool or string of choice and rap round the outside cover, tie it in a knot 
 begin to wrap the wool round each of the signatures and round the back

 Once you've wrapped it round each signature you cut off a length of the wool
 Use large needle and thread the remaining wool back and forward through the spine
 If you want you can thread beads on it at this point
 Once you have secured the wool all the way down tie off and before you cut it off you can decide to add a beads at this point.

I added a paper bead to my one.

Then you can add what ever decoration to the front of the mini journal and begin to have fun in it.


Competition

Win a Capturing Moments Mini Journal and tags selection - 
enter below for a chance to win.  Leave a blog comment and choose some of the additional ways to increase your chances - good luck!


Related Posts Plugin for WordPress, Blogger...