Showing posts with label how to's. Show all posts

Sunday 5 April 2015

Material Mondays - What else can you do with Chamois leather

Chamois leather has traditionally been used for cleaning and polishing cars.  My dad used to use them on his car, and up until a few weeks ago I never gave them another thought - though my car is in need of a good clean (Sekani - if you don't mind please!!)

Anyway in my 'lets see how we can use this' phase I have been seeing what different ways I can use it, and over the next few weeks of Material Mondays I will be showing you some things that you can do.

In my local pound store they sell 12x12 in cuts of stitched chamois in the car section, for as its name suggests £1,  If you go online you can get bigger sizes, and whole pieces, the largest I've seen so far is 5 square feet. The smaller size suited me as a trial and I took it home to see how it would take paint. 


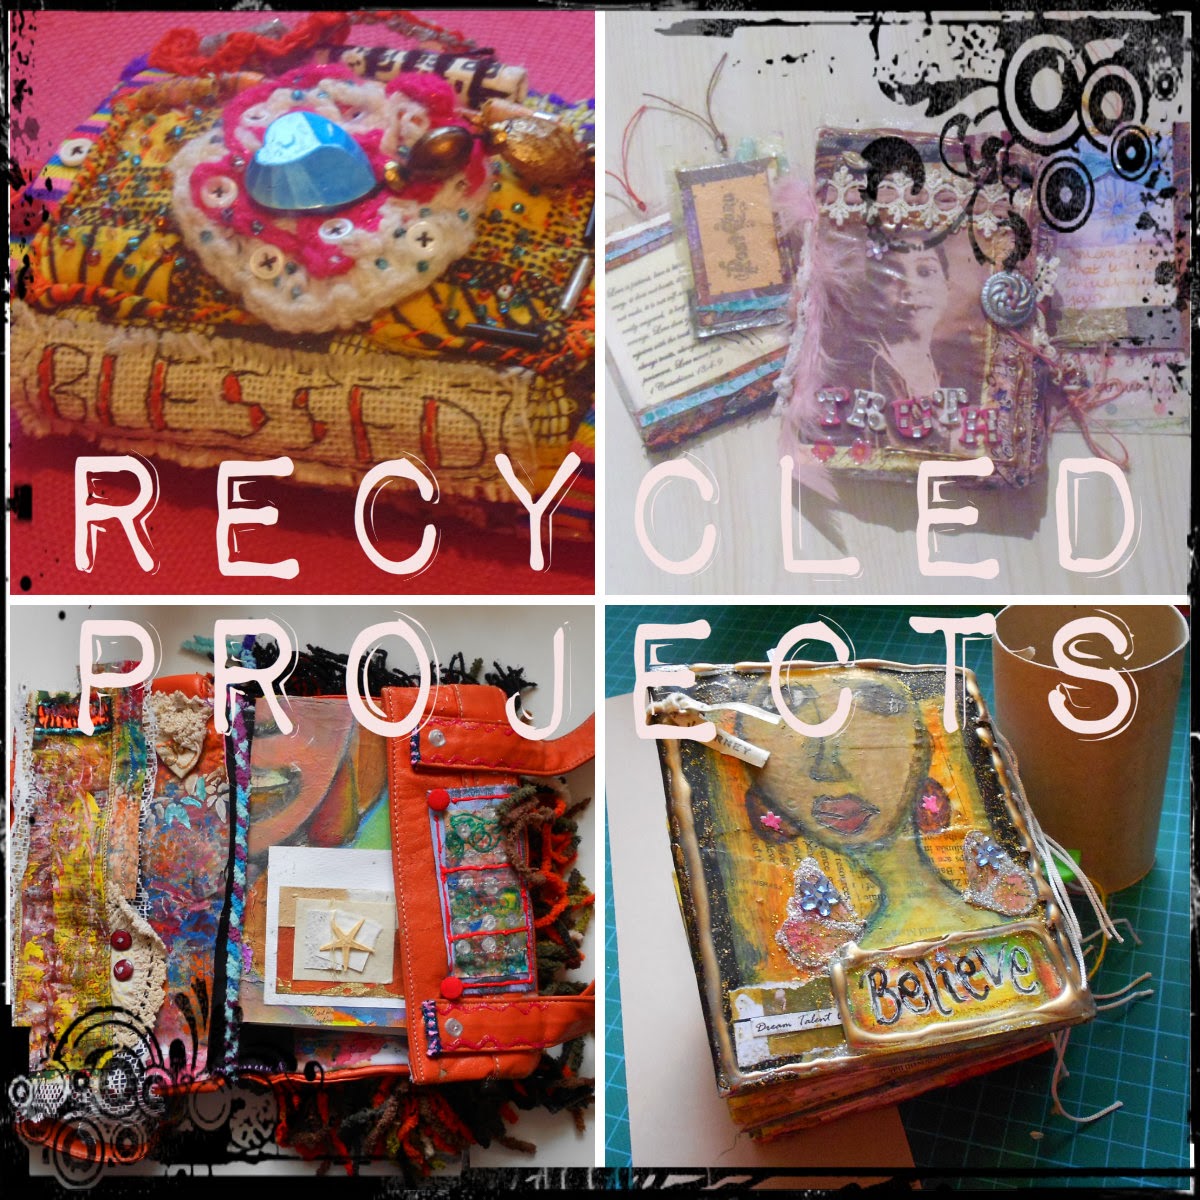
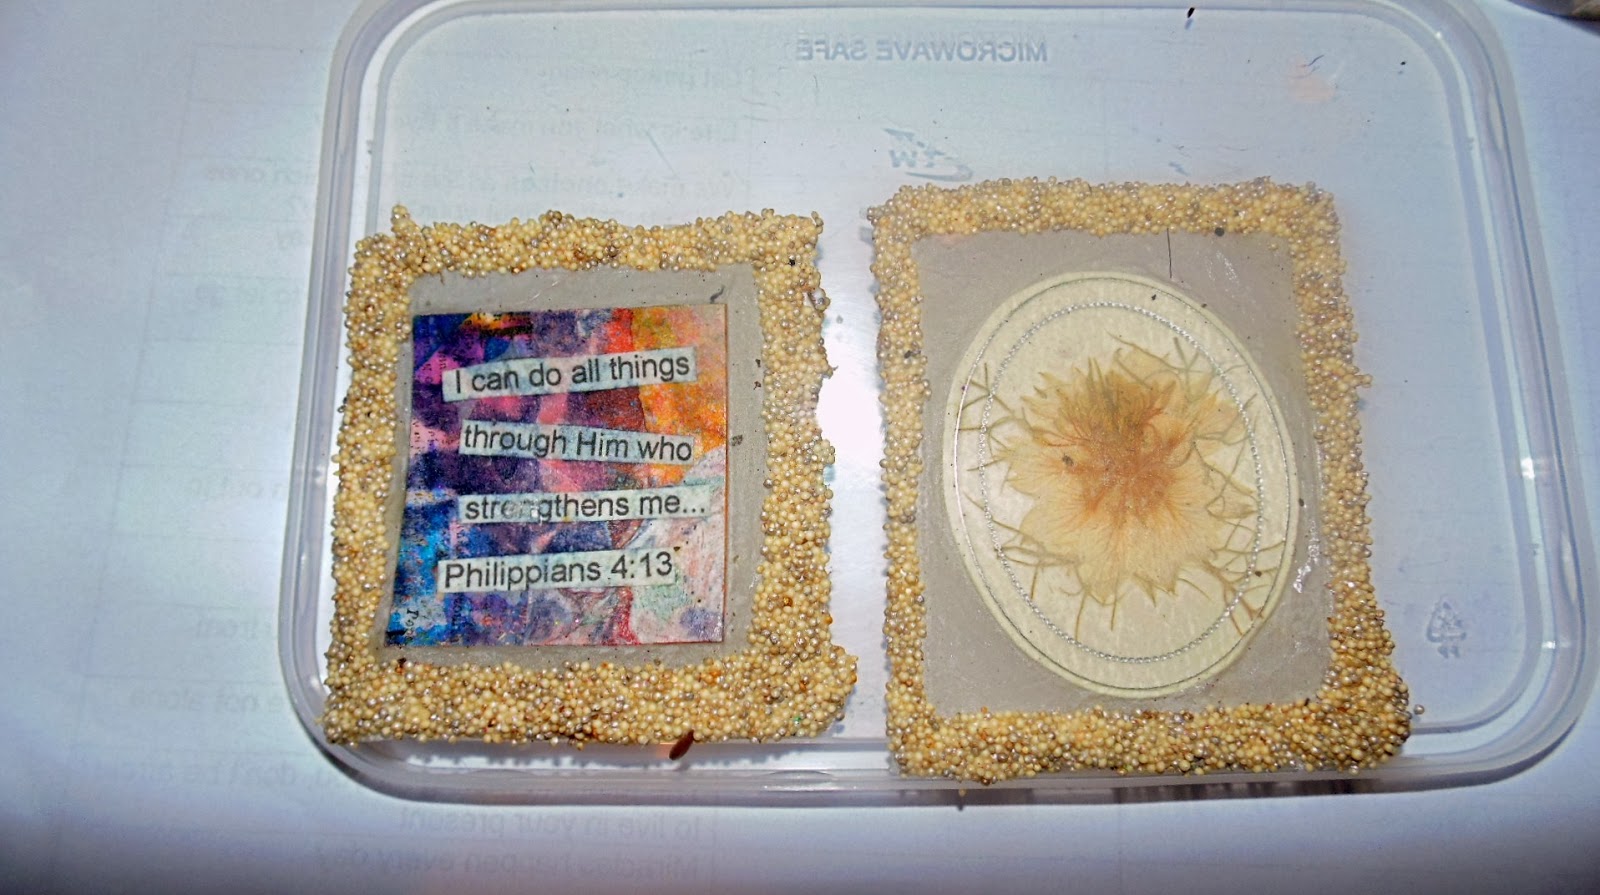
The leather was great to work with as it is so soft it takes paint well, and I used a selection of inks, and paints through stencils made from scrap plastic.


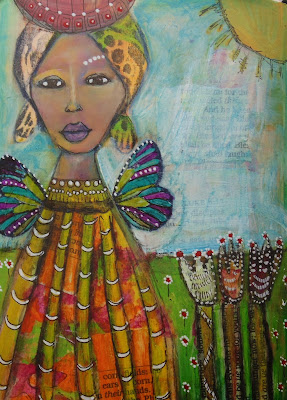
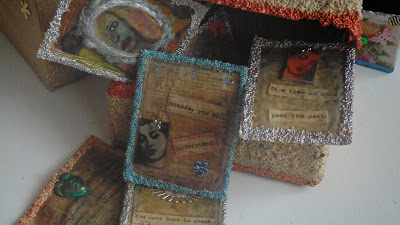
I wanted to see how it would hold up as a journal with lots of embellishments, attaching beads, spirals, and crochet ribbon.


All the embellishments were from the charity store and so while there is a nice variety going on, they compliment each other well.


On the inside it has 3 signatures, made from a selection of scrap watercolor card and paper.  It is just the right size, measuring around 4 x 6 inch


Give it a try and see what you come up with!


Next week we are going to try to make something musical with the leather...

Check out my YouTube channel to see what other creative projects that I am making.

Saturday 17 May 2014

Recycled Projects - Tissue Paper

Recycled Projects
Recycled Projects - Tissue Paper
What do you do with the tissue paper that comes either with a gift or wrapped around an item of clothing - throw it out? reuse it to wrap something else? or use it in your creative projects? 

Well I thought I would show you a couple of great uses for them that involve a bit of creative thought and a mind to play, and are always going to produce really great results!

Firstly, the tissue paper can be used to create texture in your creations.  You apply glue to the surface and then add the tissue paper, once it is dry you can paint it in your color of choice, adding additional layers to your work.

Secondly you can use the tissue paper to clean your gelli plate once you have got all the prints off.  You can build up a number of layers of paint, then use the tissue paper in your work in that way to create a background.

What I have been finding really useful is using either shop brought stamps or making your own Handmade stamps and applying to the tissue paper you can create transparent layers to use within your art work.

selection of tissue paper that has been stamped
Here is one of the stamps that I created 

Here are some of the handmade stamps, check the link above to see how to make some of your own.  They are easy to make and you can get your own unique designs.

Once you have decided which design you want to use you cut it out and apply it to your art.


Here are a selection of stamped tissue paper that I used within some of my art journals.

Handmade stamp flower design
From the brought stamps I used quite a few bird designs


As well as butterfly wings
 Gratitudes and Celebrations Journal
Once applied I painted them to the color of choice.
 Gratitudes and Celebrations journal
Wings and the word inspire was stamped onto the tissue paper
Armed with a few ideas, I am sure that you will look at tissue paper in a different way.  Try it for yourself and see what you can come up with.  You can reuse and recycle it, and create so many things, let me know what you decide to do, and share your images! 

Tuesday 19 November 2013

Tutorial Tuesdays - Teabag Treasures

Tutorial Tuesday

Teabag Treasures
On Saturday I showed you my teabag treasures HERE.  Today I will be showing you how to make one of these decorated teabags to make your own treasures.  They are pretty straight forward.

Select whatever type of teabags you may have.  There may be some that got forgotten in the back of your cupboards that you can use.

Here are some of the tools that I used for this project.


Take the teabags and make a slit on one side and then cut along the top of the bag. Pour out the contents of the teabag.

Select from a range of things that you might have already or that you want to make, and encouraging word, an image that can go inside the bag.


When you are satisfied with the contents that you have cover the bag in pva glue and coat the back as well.  Allow to dry.  The glue helps the teabag to stiffen and has a leathery type feel.

For the frame of the bag I used quinoa and put a beading of glue then sprinkled the quinoa on to cover all of the glue.


Allow to dry and then add any additional embellishments 


You can either leave the edges as they are or you could put a coat of paint of your choice, alternatively you can rub 'goldfinger metallic finish' to give it a vintage look.

Teabag Treasures
Once complete give it a final coat of pva glue on the front and the back which will act as a sealant.  You could go on to use these bags in your journals, on cards as a gift.

I am looking forward to sharing next weeks recycled project.


Tuesday 12 November 2013

Tutorial Tuesday - A6 Quinoa and Toilet Roll Journal

Tutorial Tuesday

 Today we focus on the A6 Journal made out of Toilet roll for inner pockets and quinoa for decoration, I showed you on Saturday the journal with lots of pockets for tags, and cards to write on HERE

Because the journal is made pretty much in the same way as the chunky toilet roll journal you can go HERE to get the instructions and what I will show you is how I used the quinoa to decorate the front of the journal.

When you get to this point of making the journal you need to add a larger piece of cardboard covered in your favorite paper, or paint.  You then need to proceed to the next stage with tools that you have in your stash.

So this is what my finished journal looked like.  On the front I used a glue gun to write the words and make the outline around the front and back of the journal. and used a number which had been recycled from scrap paper with paint from other projects.
 Here is a closer look at the glue gun detail.  When applying the glue gun you need to work fast as it dries really quickly.
 These are the tools I used below and will be making a couple a tags but using the same techniques.
 On a couple of pieces of card, stamped and with some hearts punched at the bottom.
 Taking the glue gun on one of the tags I wrote out the word Joy and drew two hearts and on the other one I stuck the number 7 made from recycled paper.

Around the number 7 tag I drew a border around the edge using the  glue gun, and allowed both tags to dry.
Filling the selected spaces with pva glue I got the quinoa ready

 My plain quinoa was passed its' sell by date for consumption, so I thought it would be great to add a bit of texture on some of my pieces.  The one above has a few linseeds in them from an earlier experiment, you can use them in their natural state, or as in the little bags you can colour the quinoa using acrylic paint.
 Pour the quinoa onto the glue and allow to dry.

After they both had dried I used goldfinger metallic paste around the dried glue words and borders and on some of the quinoa in the spaces.


I then attached some ribbon to finish off.

So you can see, we can use the quinoa to add texture within quite a few projects, it is very versatile and holds well once glued.  For a high used journal I would coat the quinoa with an additional layer of pva glue which would seal it.  Looking forward to sharing next weeks recycled project.

Thursday 31 May 2012

Graze Box Recycled Journals

Got sent a graze box a while back which had an array of delightful snacks.
It came through normal post so there was no need to wait in.  After I finished it I decided to see what I could make from the packaging


With the small book you get with your first order I made a mini book with a wrap around clasp and will use this to be a little notebook
With the rest of the materials I made a bigger journal.  The box serves as the cover and I used a range of paper and tissue paper to cover this.  On the inside I used the tray that the boxes sit in as places where you can either put photographs or your favourite sayings, inspiration cards. 
. 


I used magazine and calender pages which were matt in finish and this made it easier to add paint and collage material for the signature pages
 
I will be using the bigger journal to do a series of images.  I will share more as I go along. 

It was great fun making the different items and great to see how we can reuse and repurpose a variety of things for creative purposes
Related Posts Plugin for WordPress, Blogger...